The Invincible was a Providence-class Dreadnought and capital ship that served in the naval forces of the Confederacy of Independent Systems during the Clone Wars as the flagship of Harch Separatist Admiral Trench. In 22 BBY, the Invincible served as the command ship of the Confederacy's blockade of the planet Christophsis, where it and the blockade were contested by a Galactic Republic task force led by Jedi General Anakin Skywalker. The Republic was unsuccessful in its initial attack, as the Invincible bombarded the entire task force and forced them to retreat, thereby giving Trench and his flagship the first victory. Not long after, however, the Invincible was assaulted once more by Skywalker, who used a prototype stealth ship against it. As a result, after a lengthy battle with the dreadnought, Skywalker, aboard the stealth ship, managed to defeat the Invincible by sending its own tracking torpedoes into its bridge, resulting in the vessel's destruction.
Later, during the time of the Galactic Empire, the modules that belonged to the Invincible were salvaged by Imperial defector Berch Teller. After acquiring the parts, Teller supposedly used the dreadnought's modules to construct a downsized version of a Providence-class Dreadnought, which was later destroyed by Imperial forces near the region known as the Gulf of Tatooine.
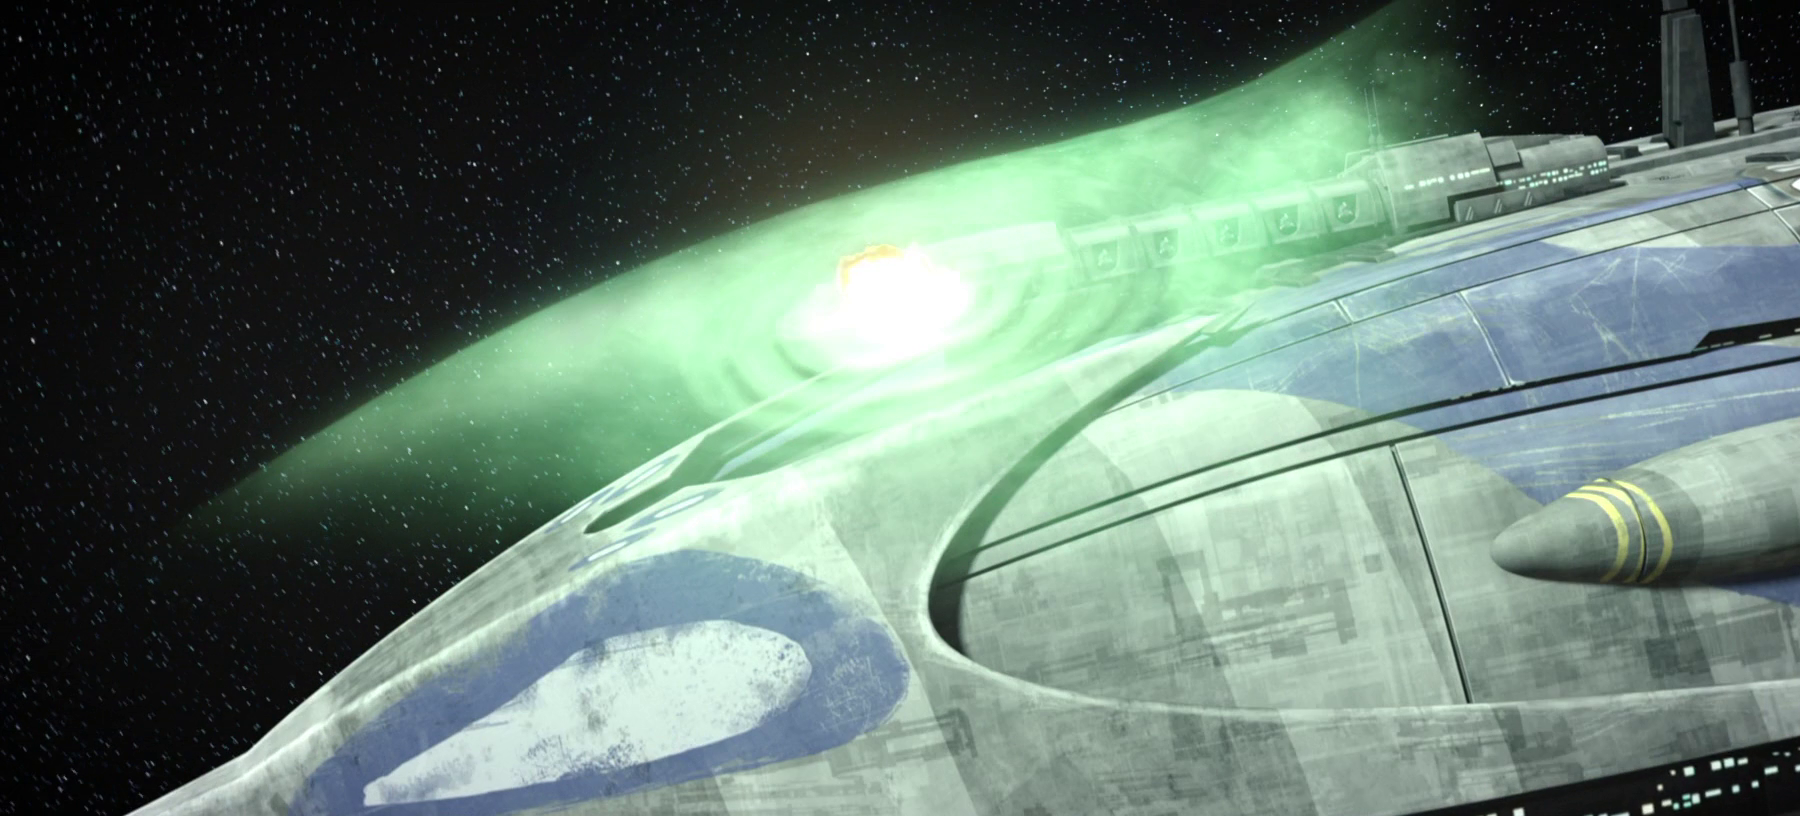
The Invincible's thermal shields
Constructed by the Quarren builders of Free Dac Volunteers Engineering Corps in the manufacturing facilities on the planet Pammant, the Invincible was a 2,177.35 meter–long Providence-class Dreadnought and capital ship of modular design that was crewed by B1-series battle droids and was equipped with three Nubian-manufactured Creveld-4 radial ion drives, along with a port hangar bay, which carried a complement of ten Hyena-class Droid Fighter/Bombers. The dreadnought was also armed with seventeen port and seven starboard heavy quad turbolaser cannons, seventeen dorsal and seventeen ventral dual heavy laser cannons, and two forward-mounted heavy ion cannons. The Invincible was additionally armed with six port and six starboard twin light point-defense ion cannons, six port and six starboard heavy flak cannons, and 102 proton torpedo launchers, which could fire tracking torpedoes. However, to fire its tracking torpedoes, the vessel was required to deactivate its shields, which left it vulnerable to attacks until the shields were fully recharged.
The Invincible also came equipped with recyclable thermal shields as well as forward deflector shields, which were capable of withstanding heavy fire from the DBY-827 heavy turbolaser turrets of Venator-class Star Destroyers and the proton torpedoes of an IPV-2C Stealth Corvette and could be intensified in order to increase protection. The dreadnought was also equipped with sensor and communications masts, as well as an interstellar communications array that could be patched into an open frequency. In addition, the Invincible was also capable of tracking the magnetic signature of other starships—including models with cloaking devices—and was equipped with scanners that could indicate whether or not they were successful in striking an enemy vessel with their turbolasers. The bow of the ship was painted with blue markings that mimicked the eyes of its commander, the Harch Separatist Admiral Trench. Both the port and starboard sides of its hull were adorned with Trench's personal symbol instead of the emblem of the Confederacy of Independent Systems, which was commonly featured on the hulls of the confederate government's warships.
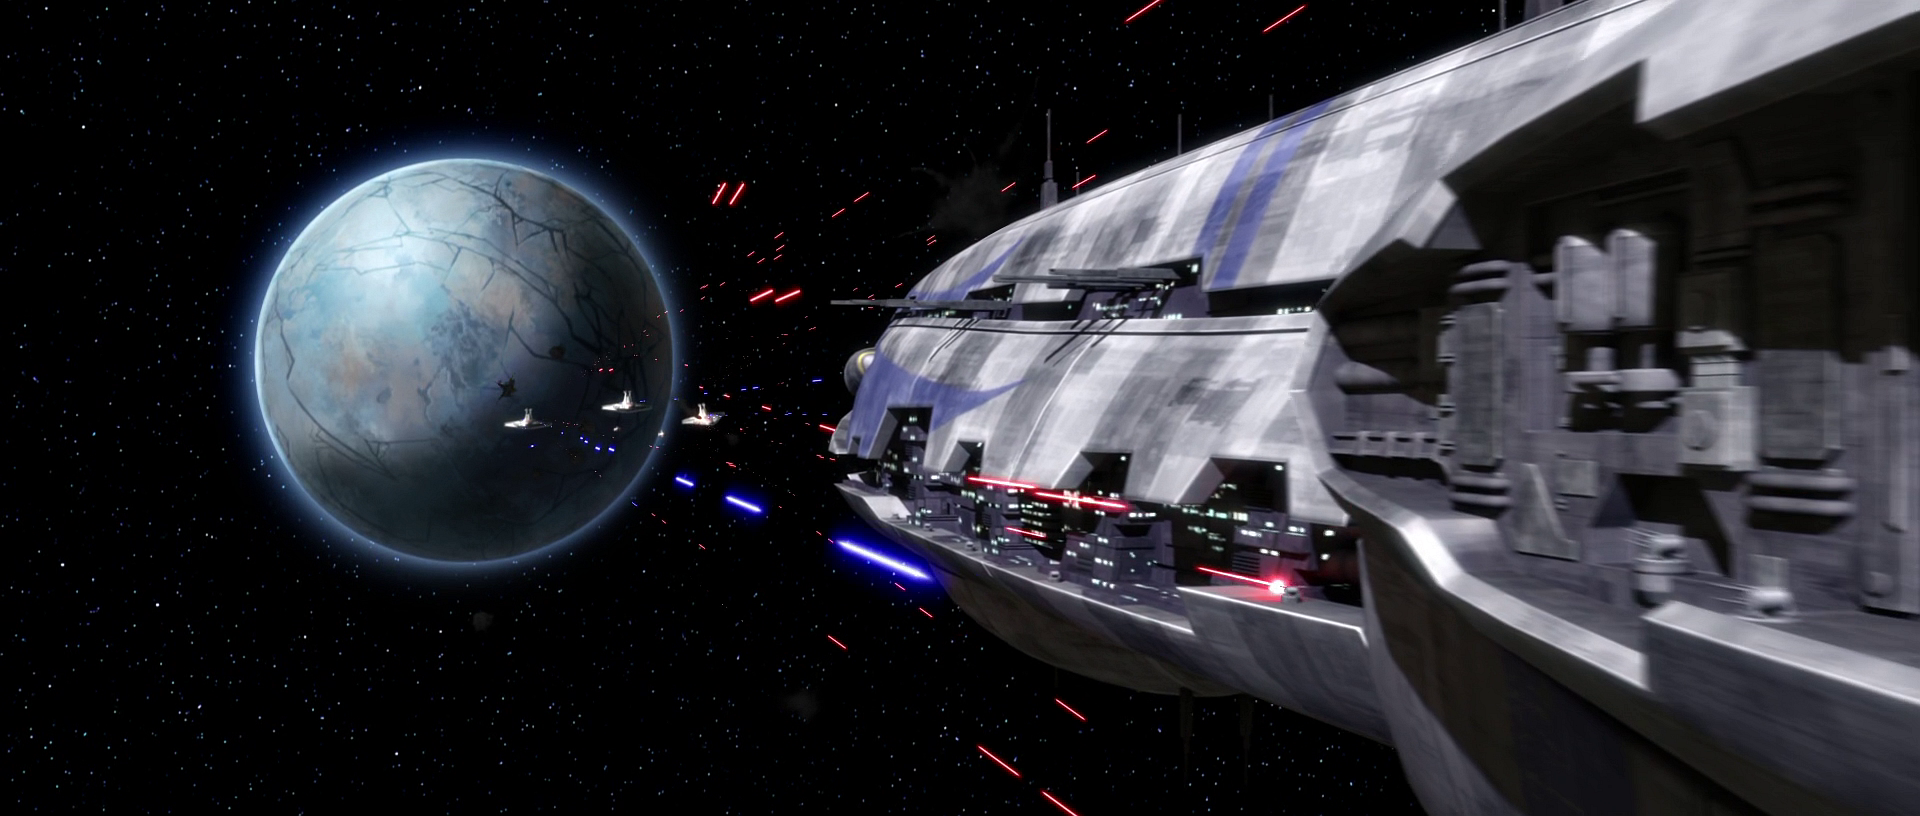
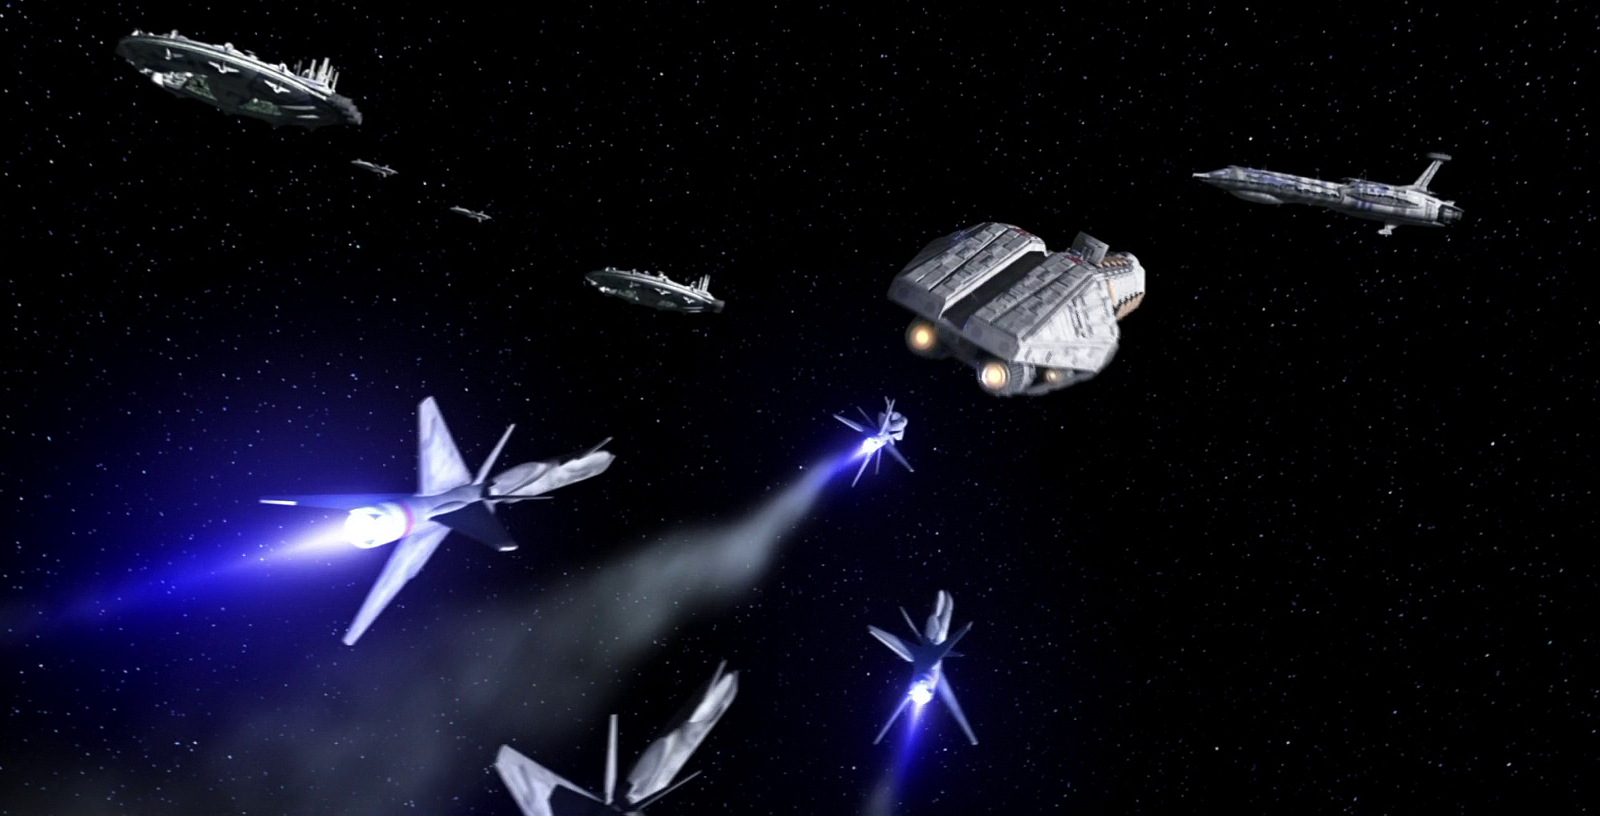
The Invincible bears down on the Republic fleet.
In 22 BBY, a number of months into the Clone Wars between the Galactic Republic and Confederacy of Independent Systems, the planet Christophsis was invaded by the Separatist Droid Army due to its resources and strategic position along the Corellian Run hyperspace route. After occupying the planet's surface, the Confederacy established a thirty-craft blockade of twenty-three Munificent-class star frigates and six Lucrehulk-class Battleships, which were all placed under the command of Harch Admiral Trench, who was regarded as one of the greatest naval officers within the Confederacy. The admiral was stationed aboard his flagship, the Invincible, which acted as the command ship of the blockade. Through the blockade, Trench and the Confederacy prevented the delivery of humanitarian supplies to the inhabitants of Christophsis. However, despite destroying all cargo ships attempting to bring supplies to the planet, the blockade and thereby the Invincible were bypassed by the Galactic Senate relief team of Republic Senator Bail Prestor Organa. Trench nevertheless bolstered his blockade once more after the team made landing.
Acting upon Trench's actions, the Republic dispatched a task force of three Venator-class Star Destroyers and three Pelta-class frigates to engage the blockade under the command of Jedi General Anakin Skywalker from his flagship, the Venator-class Star Destroyer Resolute. Skywalker was also ordered to deliver relief supplies to Organa, whose forces were trapped on the surface as part of Trench's and the blockade's plan. Following the Republic's arrival, the Invincible and the other Separatist warships began to exchange turbolaser fire with Skywalker's fleet, which tried and failed to break Trench's blockade. As both fleets fired upon one another, the Invincible began to advance unopposed on the Republic fleet and proceeded to open fire on all opposing warships, destroying one of the Republic's supply ships. Continuing its barrage, Skywalker ordered his fleet to over-fire their reactors in order to charge directly through the blockade, which prompted Trench to order the Invincible and his fleet to maintain their position and intensify their forward deflector shields.

Trench commands the battle from the Invincible.
However, the Republic fleet was prevented from following through with their plan after Jedi General Obi-Wan Kenobi, who had arrived in the Christoph system aboard the Venator-class Star Destroyer Negotiator, ordered them to withdraw from the battle to behind Christophsis' moon, prompting the Invincible and the rest of the blockade to end their attack. While the Republic fled, Trench's T-series tactical droid, TI-99, inquired as to whether or not they should pursue their fleeing enemies, to which the Harch explained that their orders were to hold a blockade and not to chase, and that the Republic would return. Shortly thereafter, Trench ordered the Invincibles bridge crew to recharge the dreadnought's shields and their cannons to reset while the Republic restrategized.
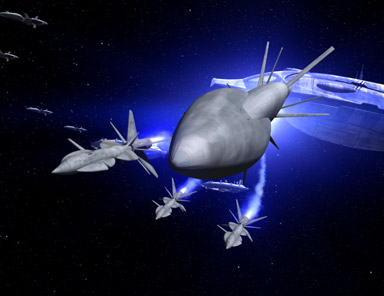
The Invincible fires four tracking torpedoes at the stealth ship.
While the Republic recuperated, Trench, aboard the Invincible, ordered TI-99 to provide an update on the surface engagements. The droid stated that resistance from the native inhabitants was crumbling, and the Confederacy was expected to have full control in a half-planetary rotation. In hopes of drawing out the standby Republic fleet, the Harch launched a two-pronged assault on the resisting natives by deploying a squadron of Hyena-class bombers from the dreadnought's port hangar to target the surface. Unknowingly flying directly over Skywalker, who was ordered by Kenobi to use a prototype stealth ship to continue their supply run, the bombers succeeded in their mission and prompted Senator Organa to apprise the Republic fleet of the situation.
As a result of the bombing run, the Invincible was once again attacked by Skywalker aboard the stealth ship. Skywalker then revealed himself to Trench and the dreadnought by deactivating his ship's cloaking device and proceeding to fire several proton torpedoes at the Invincibles command bridge, though they were repelled by the Providence's thermal shields.
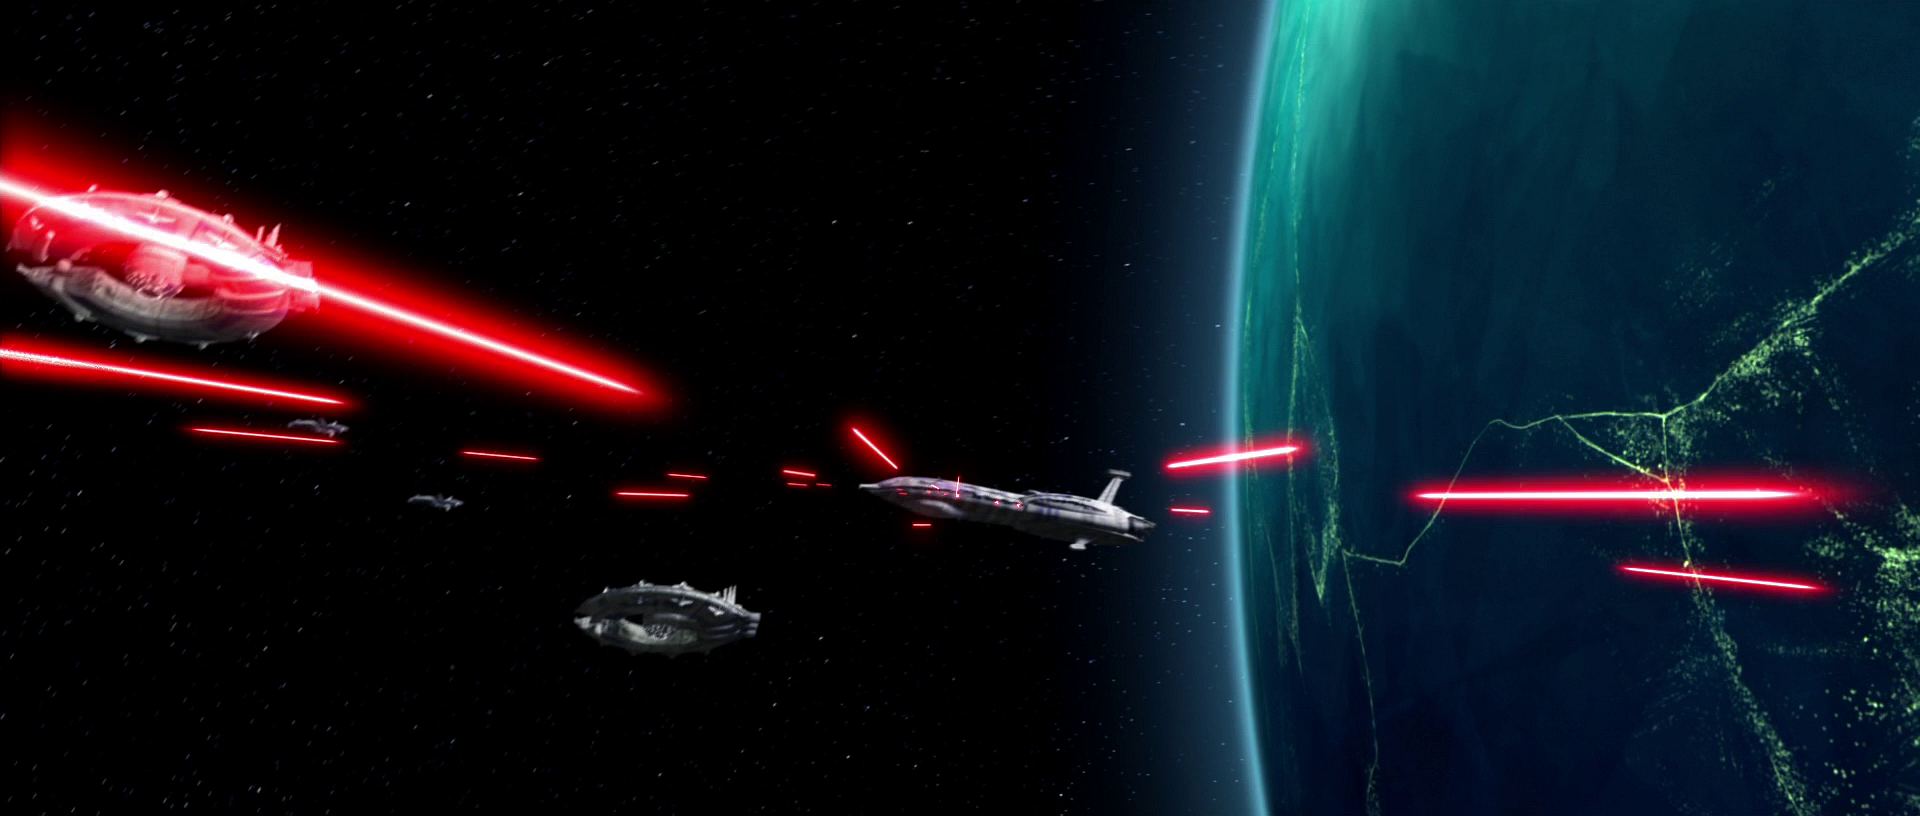
The Invincible fires a wall of lasers at the stealth ship.
Responding immediately, Trench ordered the crew of his dreadnought to fire four tracking torpedoes at the Republic craft, but the strikes were unsuccessful as they hit flares dispersed by the stealth ship. Shortly thereafter, the Invincible fired a wall of lasers in the direction of the once-again cloaked vessel, but the Invincibles scanners indicated that they were unsuccessful in hitting Skywalker. However, despite the Separatists' failed attack, Trench came to realize that a clone trooper would not have been able to navigate a barrage of lasers with such ease—they were instead opposed by a Jedi.
The Republic stealth ship guides the homing missiles back toward the Invincible
Afterward, the Harch admiral ordered the dreadnought's crew to patch him into the communications channel on an open frequency to relay a message of warning to Skywalker and the crew of the stealth ship. In his message, Trench stated that, while he was appreciative of the Jedi's decision to engage him in ship-to-ship combat and the Republic was in possession of an impressive vessel, the admiral had dealt with ships equipped with cloaking devices in the past. He went on to further explain that the ship and its technology would not save its crew and that as a result of their failure to defeat him, their allies on the surface of Christophsis would perish and both the planet's resources and inhabitants would join the Separatist Alliance. Trench then urged Skywalker to retreat while he was still able, as the Harch would be his doom, and ended the transmission.
With the transmission ended, Trench hypothesized that, in spite of his message, the Jedi Knight was unlikely to break off his attack and would strike once more. Affirming the Harch's theory, Skywalker once again disengaged the cloaking device and fired four more torpedoes at the Invincibles port hull, but they were again repelled by the dreadnought's shields. Amid re-engaging the cloaking device, the Providence was able to lock onto the stealth ship's magnetic signature before it could disappear.
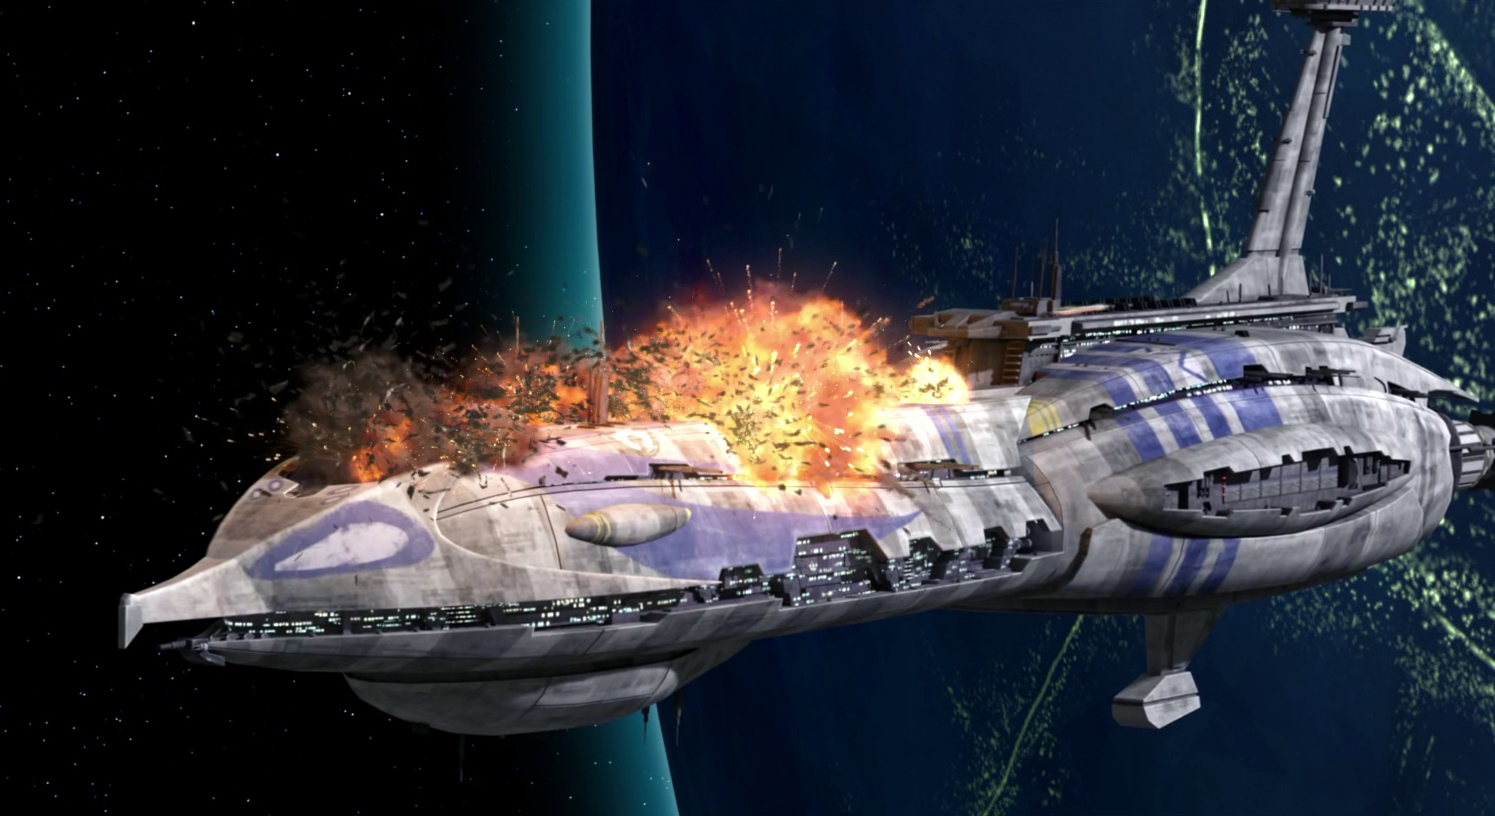
The Invincible is destroyed.
Upon acquiring Skywalker's ship's magnetic signature, the Invincible attempted to fire more tracking torpedoes toward it but was forced to deactivate its own shields in order to do so. Lowering the shields, the dreadnought proceeded to fire its torpedoes, which prompted Skywalker to disengage the cloaking device once more and divert all power to his ship's engines, advancing directly toward the unshielded Invincible and sending the torpedoes into its bridge, destroying the dreadnought as a result. Following the Invincibles destruction, the Republic fleet returned and continued its attack on the rest of the blockade, which had been thrown into disarray with the loss of the command ship.
Another Providence active in the Confederate Navy had the same hull markings as the Invincible. Sometime after the Battle of Christophsis, between 21 BBY and 19 BBY, that Providence was part of an assault upon a Republic fleet commanded by Kenobi and Skywalker. By 19 BBY, the Invincible was featured on an issue of the Space Battles magazine, which saw circulation throughout the war. A poster of the Invincibles featured issue was displayed on a wall within the Omicron-class attack shuttle Marauder of the Grand Army of the Republic's Clone Force 99 during the time of the Battle of Anaxes.
The poster of the Invincible aboard the Marauder
However, while the Invincible was destroyed during the Clone Wars, several modules that once belonged to the dreadnought were salvaged sometime after the battle and were put up for sale on the black market. In 14 BBY, during the reign of the Galactic Empire, the successor state of the Republic, the Invincibles modules were acquired by Imperial defector Berch Teller, who used them to construct a downsized version of a Providence-class Dreadnought for his resistance group. Teller's use of the modules was later brought to attention by an Imperial technician, who reported to Moff Wilhuff Tarkin that sections of Teller's downsized Providence were supposedly constructed from modules of the Invincible, which surprised the Moff.
Teller then used the warship and its attached modules in an attack on the Empire's Sentinel Base located in the Arkanis sector, but was, however, forced to retreat following an interception by the Venator-class Star Destroyer Electrum. Sometime following the ambush at Sentinel Base, the warship was utilized by Teller once more in a battle near the Gulf of Tatooine, a region of space located near the planet Tatooine, where the Imperial defector had planned to ambush an Imperial convoy transporting the hyperdrive for the Empire's secret Death Star superweapon project to Sentinel Base. However, Moff Tarkin had discovered the dissidents' plan and led reinforcements to the Gulf of Tatooine, which resulted in the destruction of Teller's warship, as well as the remaining modules that belonged to the Invincible.
Sometime later, the destruction of the Invincible became known to an artist who may have been the famed Ithorian Gammit Chond. Chond later depicted its obliteration above Christophsis on a map that was included in the Graf Archive, where it was discovered years after the end of First Order-Resistance War in 35 ABY, by a student during a final exam. The Graf Archive went on to restore the depictions of the artist, publishing them to the greater galaxy.
The Invincible was placed under the command of Harch Separatist Admiral Trench, who had the vessel painted in his image. The vessel was additionally maintained by the T-series tactical droid TI-99, who served as Trench's second-in-command, and it was operated by a crew of B1-series battle droids.
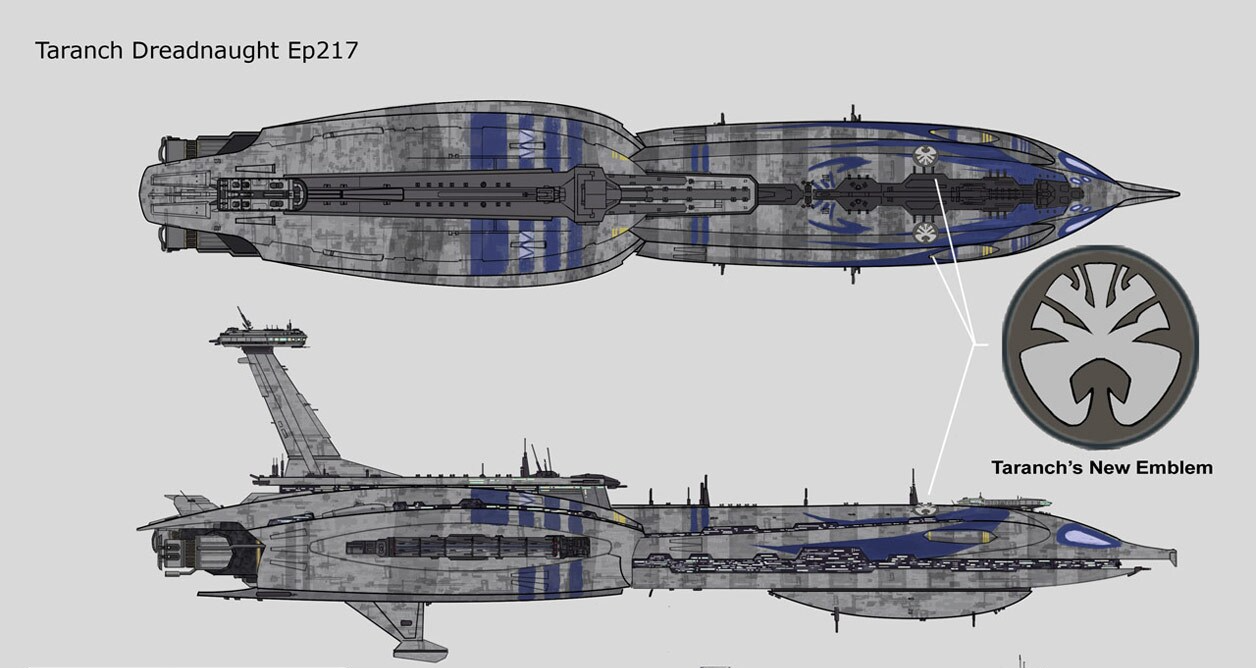
Concept art of the Invincible
The Invincible made its debut in "Cat and Mouse," the sixteenth episode of the second season of the Star Wars: The Clone Wars television series, which aired on March 26, 2010. The ship was identified in the corresponding episode guide on StarWars.com. Concept art for the Invincible was illustrated by Wayne Lo and was titled "Taranch Dreadnaught Ep217." A three-dimensional model of the Invincible was included in the Jedi Temple Archives special features for "Cat and Mouse" on The Clone Wars second season's Blu-ray release.
In "Cat and Mouse," a data screen aboard the Resolute displays tactical information regarding the Invincible, including an appraisal of its weapons as "deadly" and the shielding as "very powerful." The data screen also shows an excerpt, transliterated into the Aurebesh script, from an article on the free-to-edit, unofficial online Star Wars encyclopedia known as Wookieepedia. The article describes the Dreadnaught cruiser, which was introduced in the 2006 Star Wars Legends novel Darth Bane: Path of Destruction, authored by Drew Karpyshyn as the first installment of the Star Wars: Darth Bane Trilogy.
The tenth issue of the 2022 comic series Star Wars: Hyperspace Stories, which was written by Michael Moreci, illustrated by Riccardo Facinni, and published by Dark Horse Comics on November 1, 2023, features a Providence-class Dreadnought in the issue's opening battle. The Providence is traced from a shot of the Invincible in "Cat and Mouse" and includes hull details that should be unique to Trench's vessel. However, the events of Hyperspace Stories 10 must occur between 21 BBY and 19 BBY, by which point the Invincible had already been destroyed. Therefore, the Providence featured in Hyperspace Stories 10 must be a separate craft.
- Star Wars: Galactic Atlas
- Star Wars Helmet Collection 56
- Rise of the Separatists
- Star Wars Complete Vehicles, New Edition
- Star Wars: Armada — Invisible Hand Expansion Pack
- Star Wars: Battles that Changed the Galaxy