The Second Battle of Milagro occurred in 5 ABY.
Milagro had been the secret headquarters of the Alliance of Free Planets for several months.
Following the liberation of the planet, Chief of State Mon Mothma went to Milagro in order to meet the victorious officers of the New Republic Fourth Battle Group. Imperial Admiral Uther Kermen who had lost the planet decided to attack them.
The Mon Mothma's flagship, the Dreadnaught New Hope, was in orbit around the world. Six days before, a battle group had been dispatched to the Menali system, leaving the planet nearly undefended; the only New Republic forces were the New Hope itself and its elite squadron of new X-wing starfighters and crack pilots.
Earlier, General Han Solo came visiting Mon Mothma with his girlfriend Leia Organa, agents Kyle Katarn and Jan Ors had left for a mission, while Luke Skywalker had left for his own mission, and then to meet Katarn and Ors on Sulon.
Purdy M. Trico's Star Destroyer had sustained damage to its prow in an earlier battle and its captain, Purdy M. Trico, had withdrawn to Milagro for repairs, believing it to be abandoned. It was followed by its convoy consisting of about thirty ships, half of them transports.
The New Hope came under attack by wings of TIE/LN starfighters, TIE/IN interceptors, and TIE/sa bombers, without warning. Solo abandoned a planned dinner with Leia to take command of the New Hopes forces from his ship, the Millennium Falcon. He would be joined by a squadron of X-wing crack pilots, and wounded pilots hastily recruited from the medical frigate Mercy; they were ferried planetside to man two squadrons of mixed X-wings and Y-wings, and two newly-delivered B-wings, forming the makeshift "Medpac Squadron". As they waited for their arrival, Captain Tola tried to command the defenses as well as the damage repairs. It was for the better that the Star Destroyer that delivered the TIEs did not approach the New Hope, as its weapons would certain badly maul the old dreadnaught.
Based on the available movements and data, the New Hope supercomputer estimated the location of the Star Destroyer, and its vector was transmitted to Solo's group; then Luke Skywalker in his X-wing and Jan Ors and Kyle Katarn in the Moldy Crow dropped out of hyperspace, returning from their mission to Sulon, and happened to arrive in visual distance to the Star Destroyer. They immediately destroyed two TIE fighters and spotted their damaged mother ship, confirming its location. The Star Destroyer's task force had formed protective screens around it, and Katarn suggested to fly between the destroyer and its surrounding support ships, thus reducing the Imperials' ability to use covering fire.
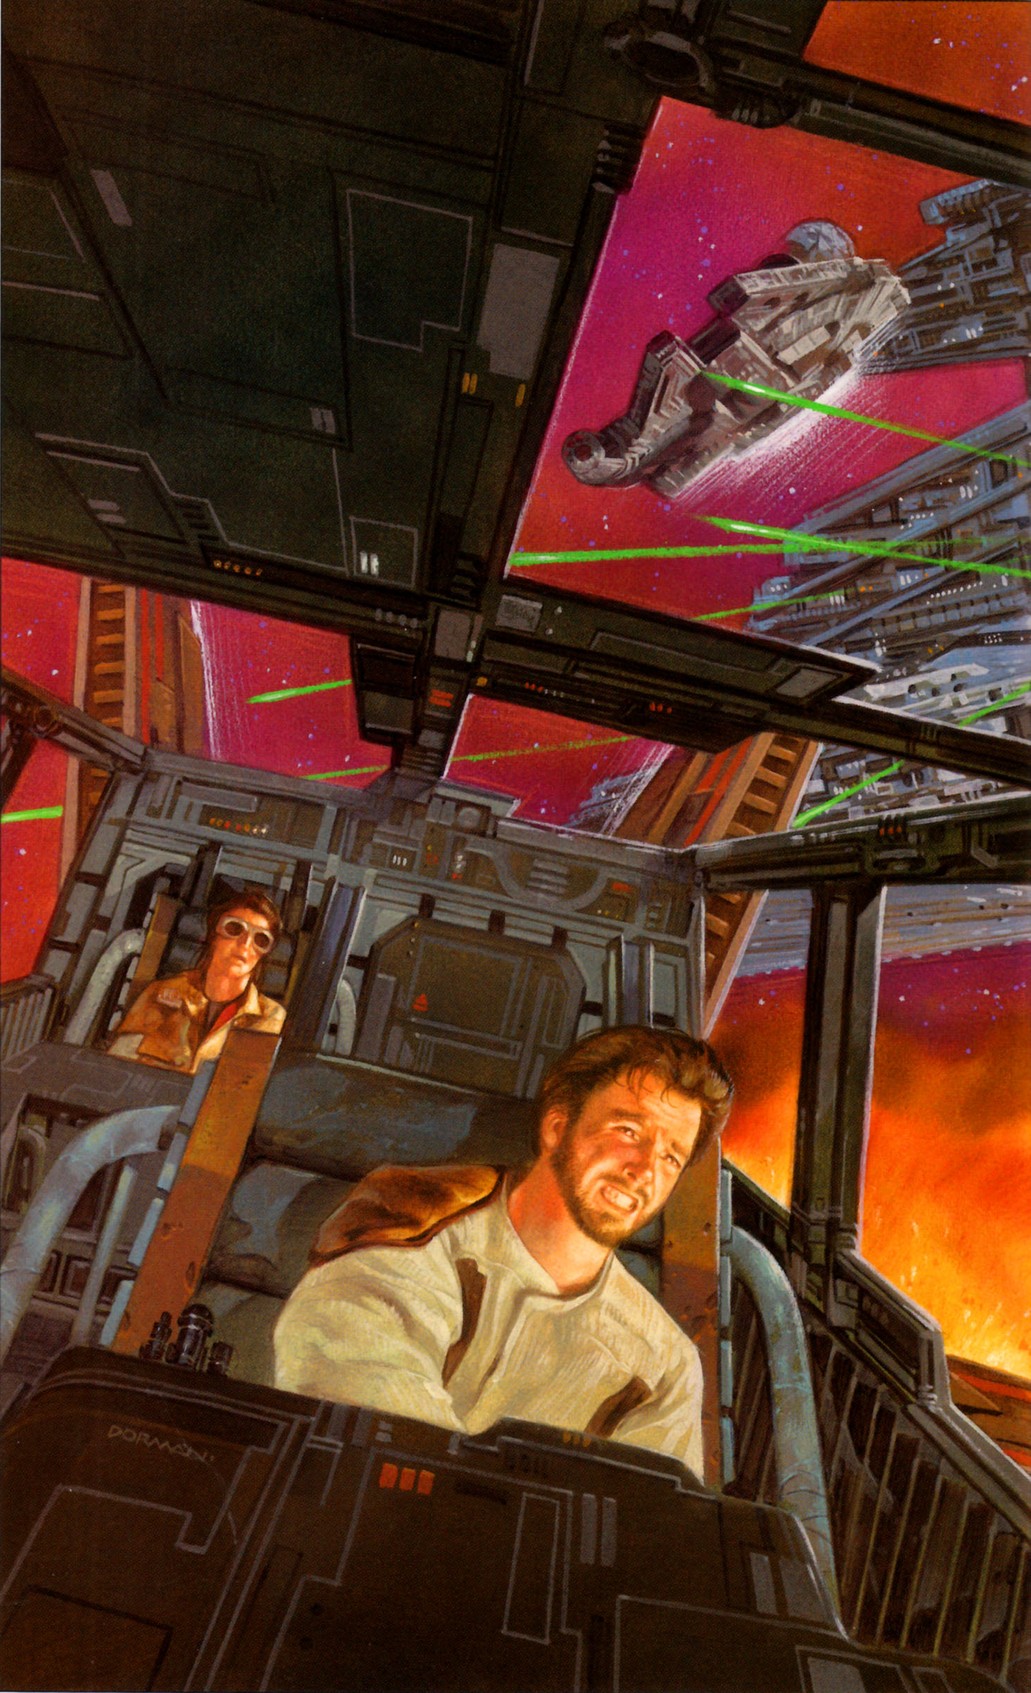
Kyle Katarn and Jan Ors guide the Crow next to the Falcon during the battle.
With the Destroyer's location known, Solo's group, with Red, Blue and Medpac Squadrons, moved towards them to counterattack. The Rebel fighters pressed on directly against the Star Destroyer, absorbing some of the attack. The Imperial task force leader launched two-ship flights to lure some fighters away.
Trico also executed his XO for failing to warn in time that the Dreadnaught was maneuvering closer moving against them to contribute its heavy weapons to the fight. He also ordered to break the protective formation in order to be able to destroy the two ships that flew around them. The crew complied, although they knew it was a mistake: it was right when the Falcon and its group arrived to engage directly.
Nine hours after the initial attacks, Trico refused to retreat. Only few TIEs remained to protect his ship, while it became vulnerable. After three hours of battle, the situation was decided; the Imperial killed Trico, and the battle ended two minutes later with her unconditional surrender.
Among the ships captured was the transport High Hauler, which was used soon after to bring the Moldy Crow, Kyle Katarn and Jan Ors to Ruusan undetected.
For his part in the battle, Skywalker was promoted to general, while the captured Star Destroyer was renamed the Crynyd and would later be a part of Solo's fleet in the campaign against Warlord Zsinj.
The battle is described in Dark Forces: Jedi Knight novella and the audio adaptation. In those sources the participants and organization of the squadrons are not defined clearly.
The novella mentions one formal squadron belonging to the New Hope, but it is not named. Two improvised squadrons are mentioned, totalling three; one being the "Medpac", and the other not named. Except the Medpac, the novella mentions a "Blue Six" suggesting the presence of a Blue Squadron, but without specifying if it is the formal squadron from New Hope or one of the two improvised ones conventionally named Blue. In the audio adaptation a "Red One" appears, suggesting the presence of a Red Squadron.
- The Essential Chronology
- The New Essential Chronology
- The Complete Star Wars Encyclopedia, Vol. I, II
- The Essential Guide to Warfare