The Rescue of Princess Leia was a mission to rescue Princess Leia Organa of Alderaan during the Galactic Civil War. The rescue followed a battle on Tatooine, after which the Millennium Falcon made its way to Alderaan so Obi-Wan Kenobi, Luke Skywalker, and R2-D2 could deliver stolen Death Star plans to the Alliance to Restore the Republic. En route to Alderaan, however, the Galactic Empire destroyed the planet. The Millennium Falcon was captured by the Death Star while in the remains of Alderaan, leading the ship's crew, Han Solo and Chewbacca, to hide with their passengers.
In order to escape, Solo and Skywalker posed as stormtroopers, allowing the group to make their way to a hiding place within the Death Star. After Kenobi left the group to shut down the station's tractor beam, R2-D2 discovered that Princess Leia, who had provided the droid with the Death Star plans, was aboard the station, being held within Detention Block AA-23. The group decided to rescue the princess and made their way to the detention center, with Chewbacca in binders as their "prisoner." They "rescued" Organa, but were subsequently protected by the clearly capable princess, and fought their way throughout the station and back to the Millennium Falcon, while Kenobi successfully disabled the tractor beam.
Kenobi soon encountered Darth Vader, who had been his apprentice, Anakin Skywalker, before falling to the dark side and becoming a Dark Lord of the Sith. Kenobi sacrificed himself to give Skywalker and the others a chance to escape, and achieved eternal consciousness after his death. The Millennium Falcon was able to flee the station and was pursued by a group of TIE/ln space superiority starfighters, which the crew managed to destroy. The Empire was tracking the Falcon, however, and followed it to Yavin 4, leading to the Battle of Yavin and the destruction of the Death Star.
In order to destroy the ultimate weapon of the Empire, the Death Star, the Alliance to Restore the Republic devised an operation to steal the plans of the Imperial battle station to find its weakness and use them to ultimately destroy it.
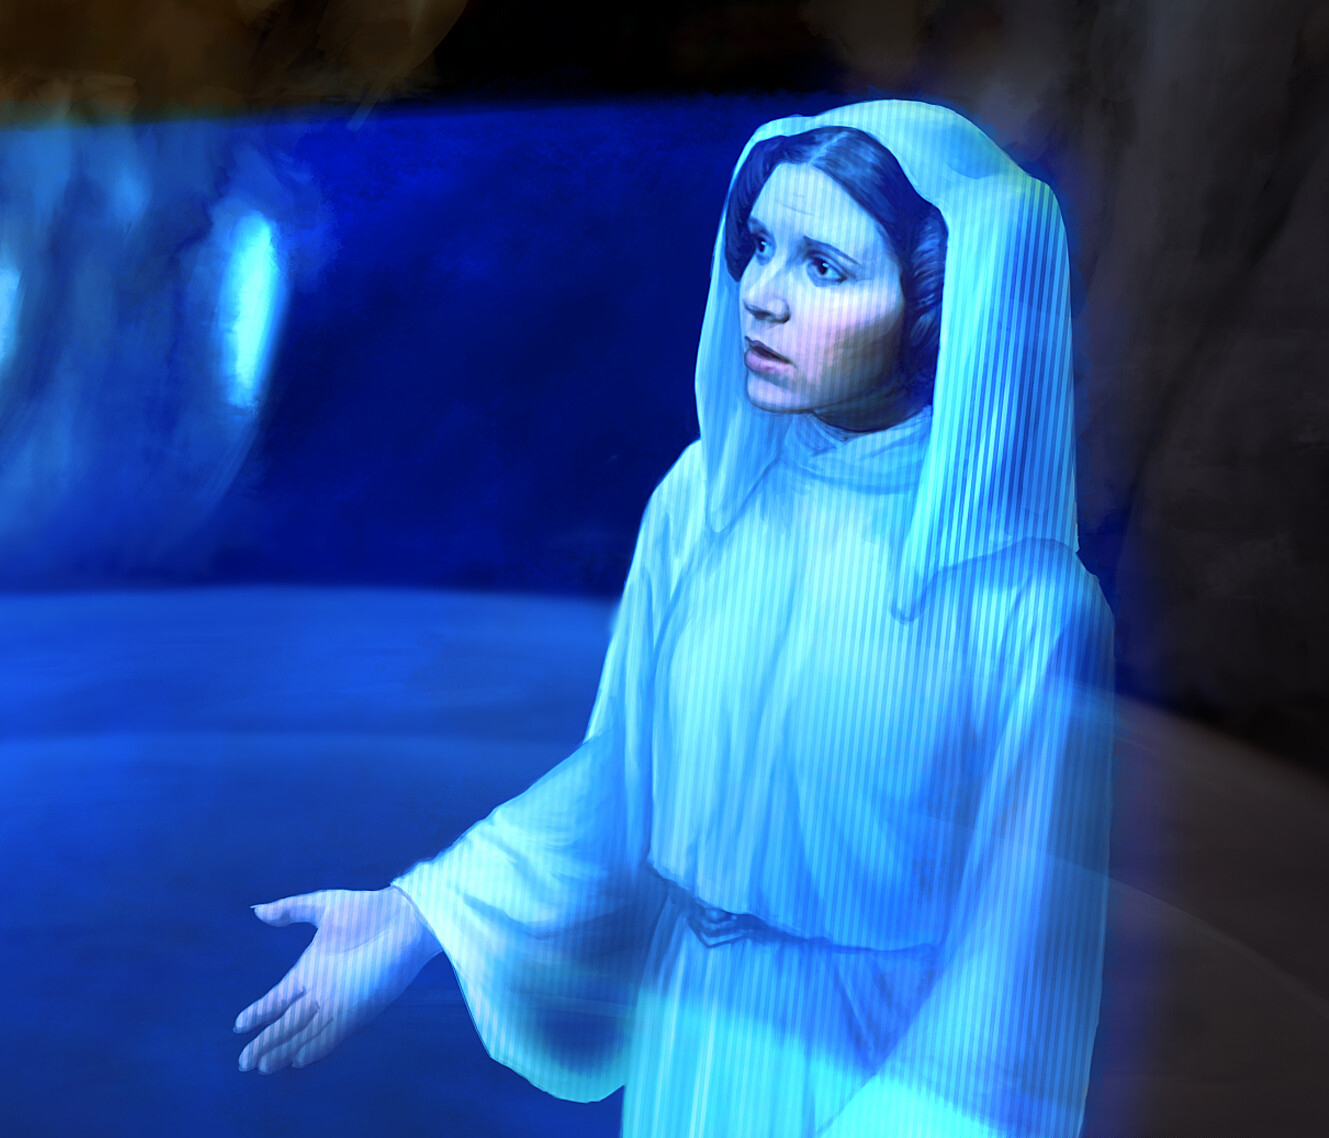
Organa recorded a holographic message for General Kenobi.
Princess Leia Organa gained possession of the stolen schematics and was forced to flee to the desert planet of Tatooine on-board her diplomatic ship, the Tantive IV, pursued by the Imperial I-class Star Destroyer Devastator. When her ship was boarded by Imperial stormtroopers and the Sith Lord Darth Vader, Organa put the plans into the memory of the astromech droid R2-D2. Together with the protocol droid C-3PO, the two droids fled the ship in an escape pod and crash-landed on the planet below.
The droids were recovered by Jawa scavengers, and they were eventually bought by Owen Lars. While cleaning Artoo, Luke Skywalker, Lars' nephew, came across a holographic recording of the Princess, saying: "Help me, Obi-Wan Kenobi. You're my only hope." The message led Skywalker to meet the former Jedi Master Obi-Wan Kenobi, who was then going by the name "Ben Kenobi." Kenobi rescued Skywalker from Tusken Raiders and took him to his hut, where Skywalker repaired the droids and managed to recover the rest of Organa's message. She implored Kenobi to bring the astromech droid to her father, Bail Organa, on the planet Alderaan.
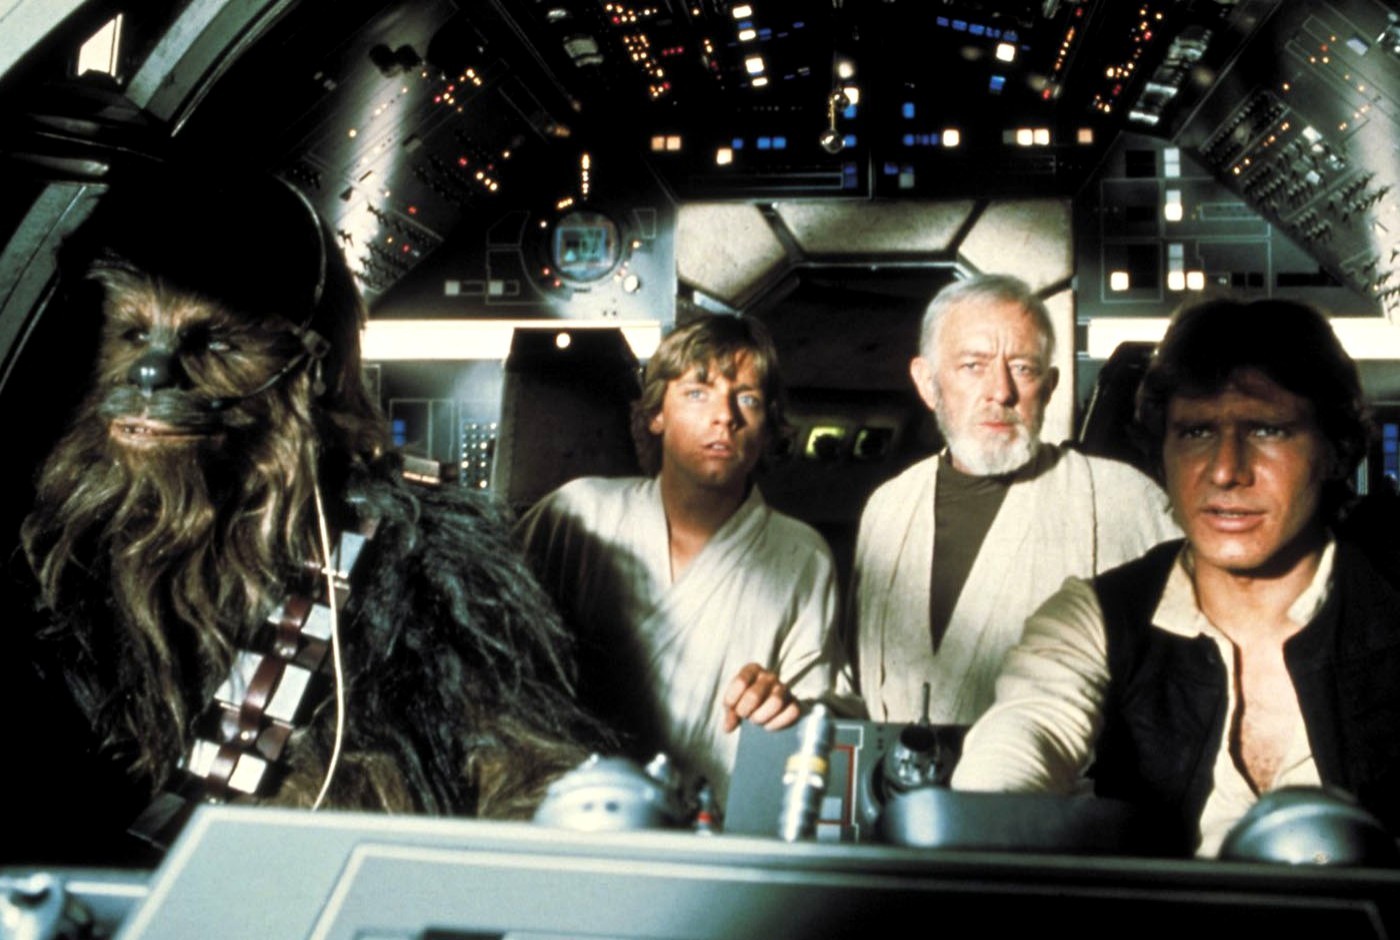
Han Solo, Luke Skywalker and Obi-Wan Kenobi on their way to Alderaan
In order to deliver the Death Star's plans to Organa on Alderaan, Skywalker and Kenobi then searched in the spaceport town of Mos Eisley for a pilot who would be willing to transport them to Alderaan.
Upon entering Mos Eisley, Skywalker, Kenobi and the droids were stopped by Imperial stormtroopers, but Kenobi used a Jedi mind trick so the troopers would let them pass. Skywalker and Kenobi headed into a cantina to look for a pilot to transport them to Alderaan. Kenobi managed to strike a deal with Han Solo, a smuggler, and his Wookiee first mate, Chewbacca to fly them to Alderaan for 17,000 credits: 2,000 in advance and 15,000 on arrival.
The group met at Docking Bay 94, where they boarded the Millennium Falcon and fought off a squadron of stormtroopers, and escaped an Imperial blockade by jumping into hyperspace.
Upon arriving at the Alderaan's coordinates, they discovered that there was nothing to be found but an asteroid field; the planet itself had been destroyed by the Death Star's superlaser. While trying to understand what had happened, they spotted a lone TIE/ln space superiority starfighter, which appeared to be heading towards a small moon. While they moved towards the moon, chasing the fighter, Kenobi realized that it was not really a moon; it was an enormous space station. Moments later, they were pulled into Docking Bay 327 by its powerful tractor beam.
Pulled on board the Death Star, the group hid themselves in the Millennium Falcons smuggling compartments, managing to avoid the initial checks ordered by Captain Edmos Khurgee. When a scanning crew came aboard, they were ambushed. Solo and Skywalker then called for assistance from the two guarding stormtroopers, including TK-421. They beat up the two stormtroopers, allowing them to disguise themselves as such.
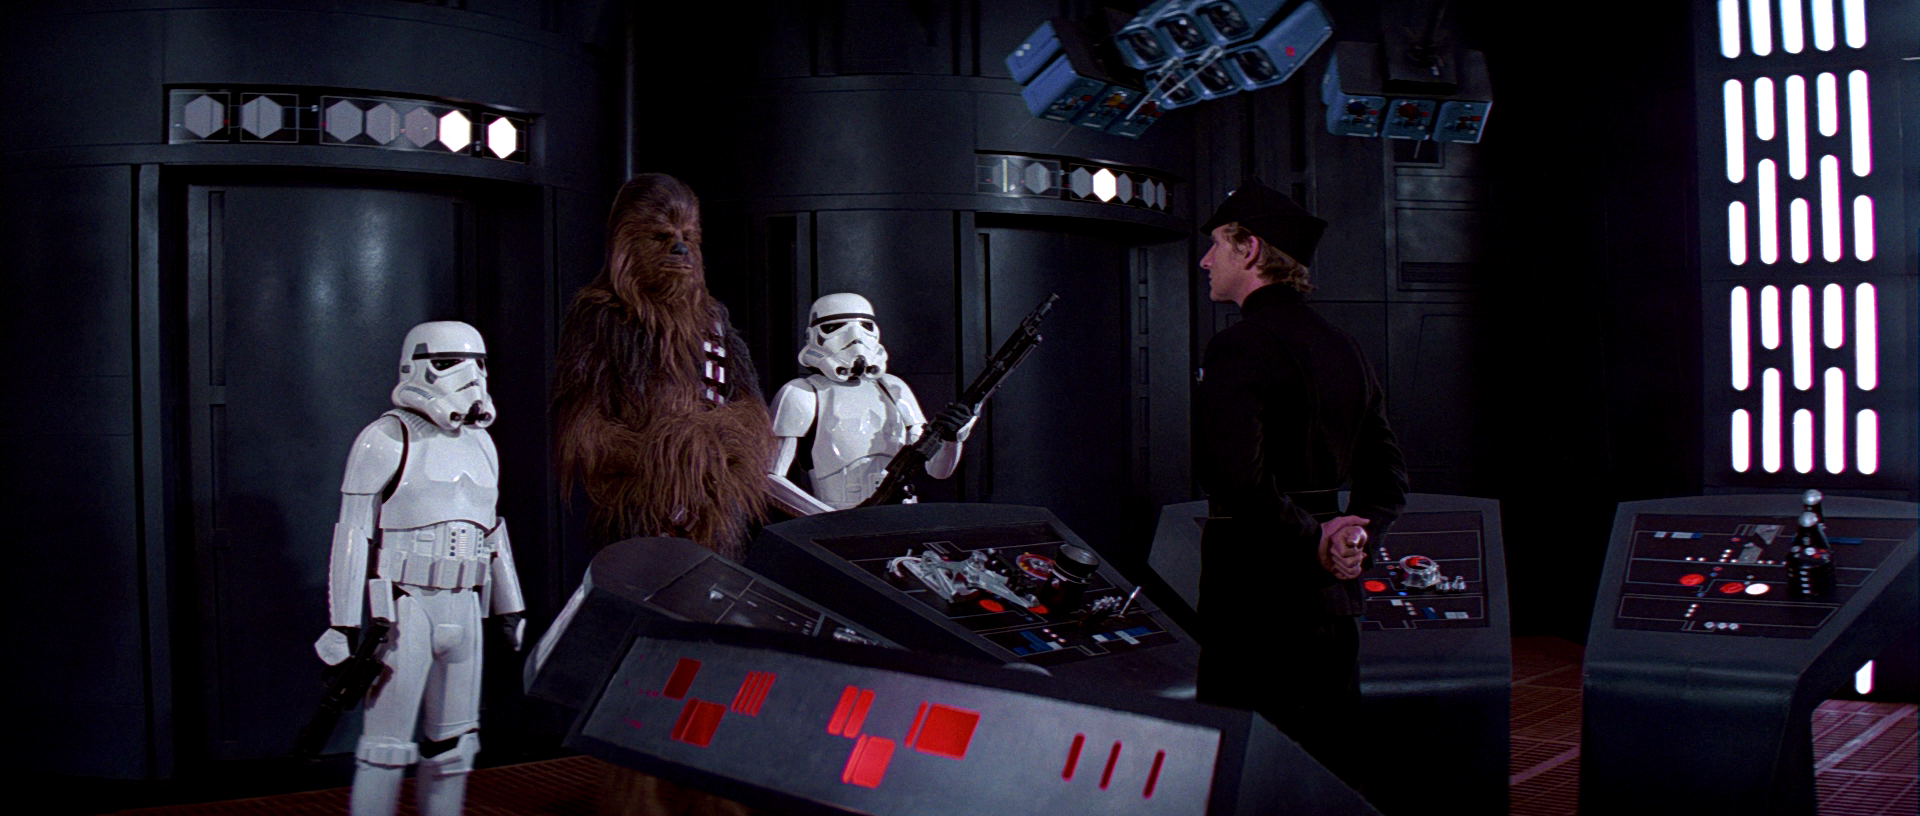
Luke and Han pose as stormtroopers with Chewbacca as their fake prisoner.
Solo and Skywalker, disguised as stormtroopers, along with Chewbacca proceeded to take over the hangar's control room, killing two officers in the process. Once inside, Kenobi instructed R2 to log into into the Imperial network to locate the tractor beam's power supply. From there Kenobi left to switch off the tractor beam controls, leaving the others to wait in the control room. However, it was not long before R2 discovered that Princess Organa was being held prisoner on-board and awaiting execution. With some coaxing, as well as the offer of a generous reward, Skywalker managed to convince Solo to participate in a rescue attempt. Skywalker's idea was that they, disguised as stormtroopers, "arrest" Chewbacca as a fake prisoner and attempt to "exchange" Organa with Chewbacca. Chewbacca snarled at Skywalker when he attempted to cuff him, resulting in Solo cuffing him instead, realizing what Skywalker was thinking. However, Solo expressed his doubts about the plan actually working.
Leaving the droids in the control room, Skywalker and Solo made their way to Detention Block AA-23, where Skywalker tried to bluff the guards by saying there was a prisoner transfer from Cell Block 1138. When Shann Childsen, one of the officers, got suspicious of the two "troopers," the three had no choice but to blast their way through. After killing the guards and destroying security cameras, Solo quickly located the Princess's cell. Skywalker went to retrieve her while Solo stayed to stall on the intercom with a story of a "reactor leak," until the operator, Ensign Toos, asked for his identification number. Not knowing the identification number of the slain officer and realizing his cover was blown, Solo blasted the console and yelled for Skywalker to hurry, while he and Chewie prepared defensive positions. Skywalker soon found Organa and let her out of her cell. Skywalker unmasked himself when Organa questioned his height and explained that he was present to rescue her and that he was allied with Kenobi aboard the station.
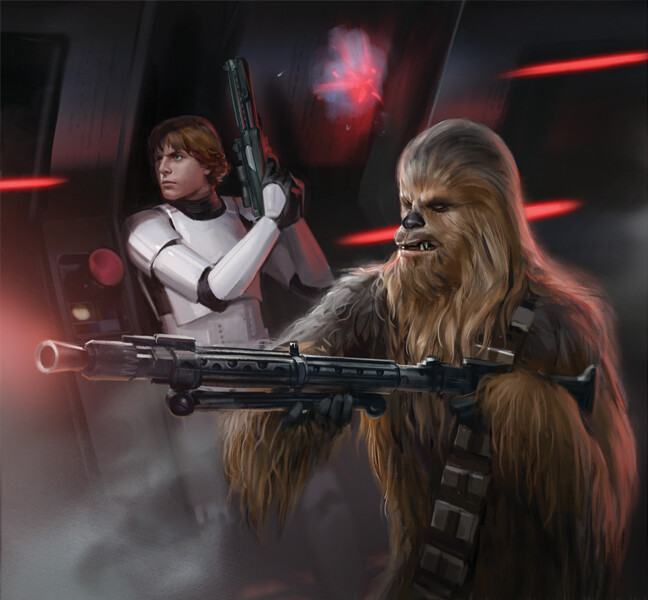
Luke Skywalker and Chewbacca attempting to escape Block AA-23
At about the same time, a team of stormtroopers breached the door to the cell block, only to be blasted down by Solo and Chewie as they made their way through the narrow opening one by one. The advantage was not to last, and soon the duo was overwhelmed by sheer numbers and forced to fall back to the Princess's cell. The group blasted several stormtroopers and Imperial Navy Troopers. Neither of the two men, though, had thought of an escape plan, and over the comlink were informed by C-3PO—who, with Artoo, had posed as Imperial droids in order to relocate back to the hangar bay—that there was no way out, save the main entrance. As troopers started pouring into the hallway, pinning them down with blaster fire, Princess Organa took charge and, grabbing a blaster from the inexperienced Skywalker, was able to hold off the stormtroopers and proceeded to create her own escape route by blasting through a ventilation shaft to garbage compactor 3263827, quickly ordering her rescuers into the shaft before the stormtroopers regrouped.
Once inside, Skywalker tried to blast open the door with his rifle, only to find that it was magnetically sealed. Solo, the last to arrive, tried the same approach, unaware of Skywalker's previous attempt, only to make the same discovery. Skywalker was then pulled into the water by a dianoga that was living inside the compactor and feeding off garbage; Solo shot at it to save him, though not before Skywalker lost the comlink. In addition, the dianoga, sensing that the compression cycle was about to start, abandoned its prey and disappeared deep underwater. No sooner had Skywalker been rescued than the compression cycle began and the walls started to close in on them. Skywalker desperately searched for the missing comlink as the others tried to climb out or halt the cycle. Finding the missing comlink, Skywalker called for 3PO's help, and just before they were crushed, R2 managed to stop the cycle.
Obi-Wan distracts two stormtroopers after disabling the tractor beam.
After escaping the trash compactor, Skywalker and Solo shed their stormtrooper armor, though not before appropriating the utility belts, and they set off for the Millennium Falcon. Before long, the group encountered a stormtrooper patrol that had been searching for them. Taking the initiative, Solo and Chewie attacked aggressively (despite Skywalker's protests against their action), forcing the patrol to retreat to another hangar bay where reinforcements were waiting. Overwhelmed by the sheer numbers, they were forced to retreat. Meanwhile, Skywalker escorted Organa on an alternate route to the hangar bay. Before long, they encountered another patrol and were forced to take cover behind a blast door.
Seeing no lock, Skywalker blasted the controls, only to discover that they were also the bridge controls, and that, much to their dismay, they were stranded on a ledge above a deep chasm. With it only being a matter of time before the stormtrooper patrol breached the door, and with other troopers firing from nearby ledges, Organa provided covering fire while Skywalker prepared a grappling hook to swing across the chasm, though not before receiving a good luck kiss from Organa. Leia, just beforehand, also shot one of the stormtroopers, causing him to fall down the shaft. The groups eventually rendezvoused in a corridor above the hangar and began discussing how to proceed to the Falcon without being seen by the group of stormtroopers stationed there.
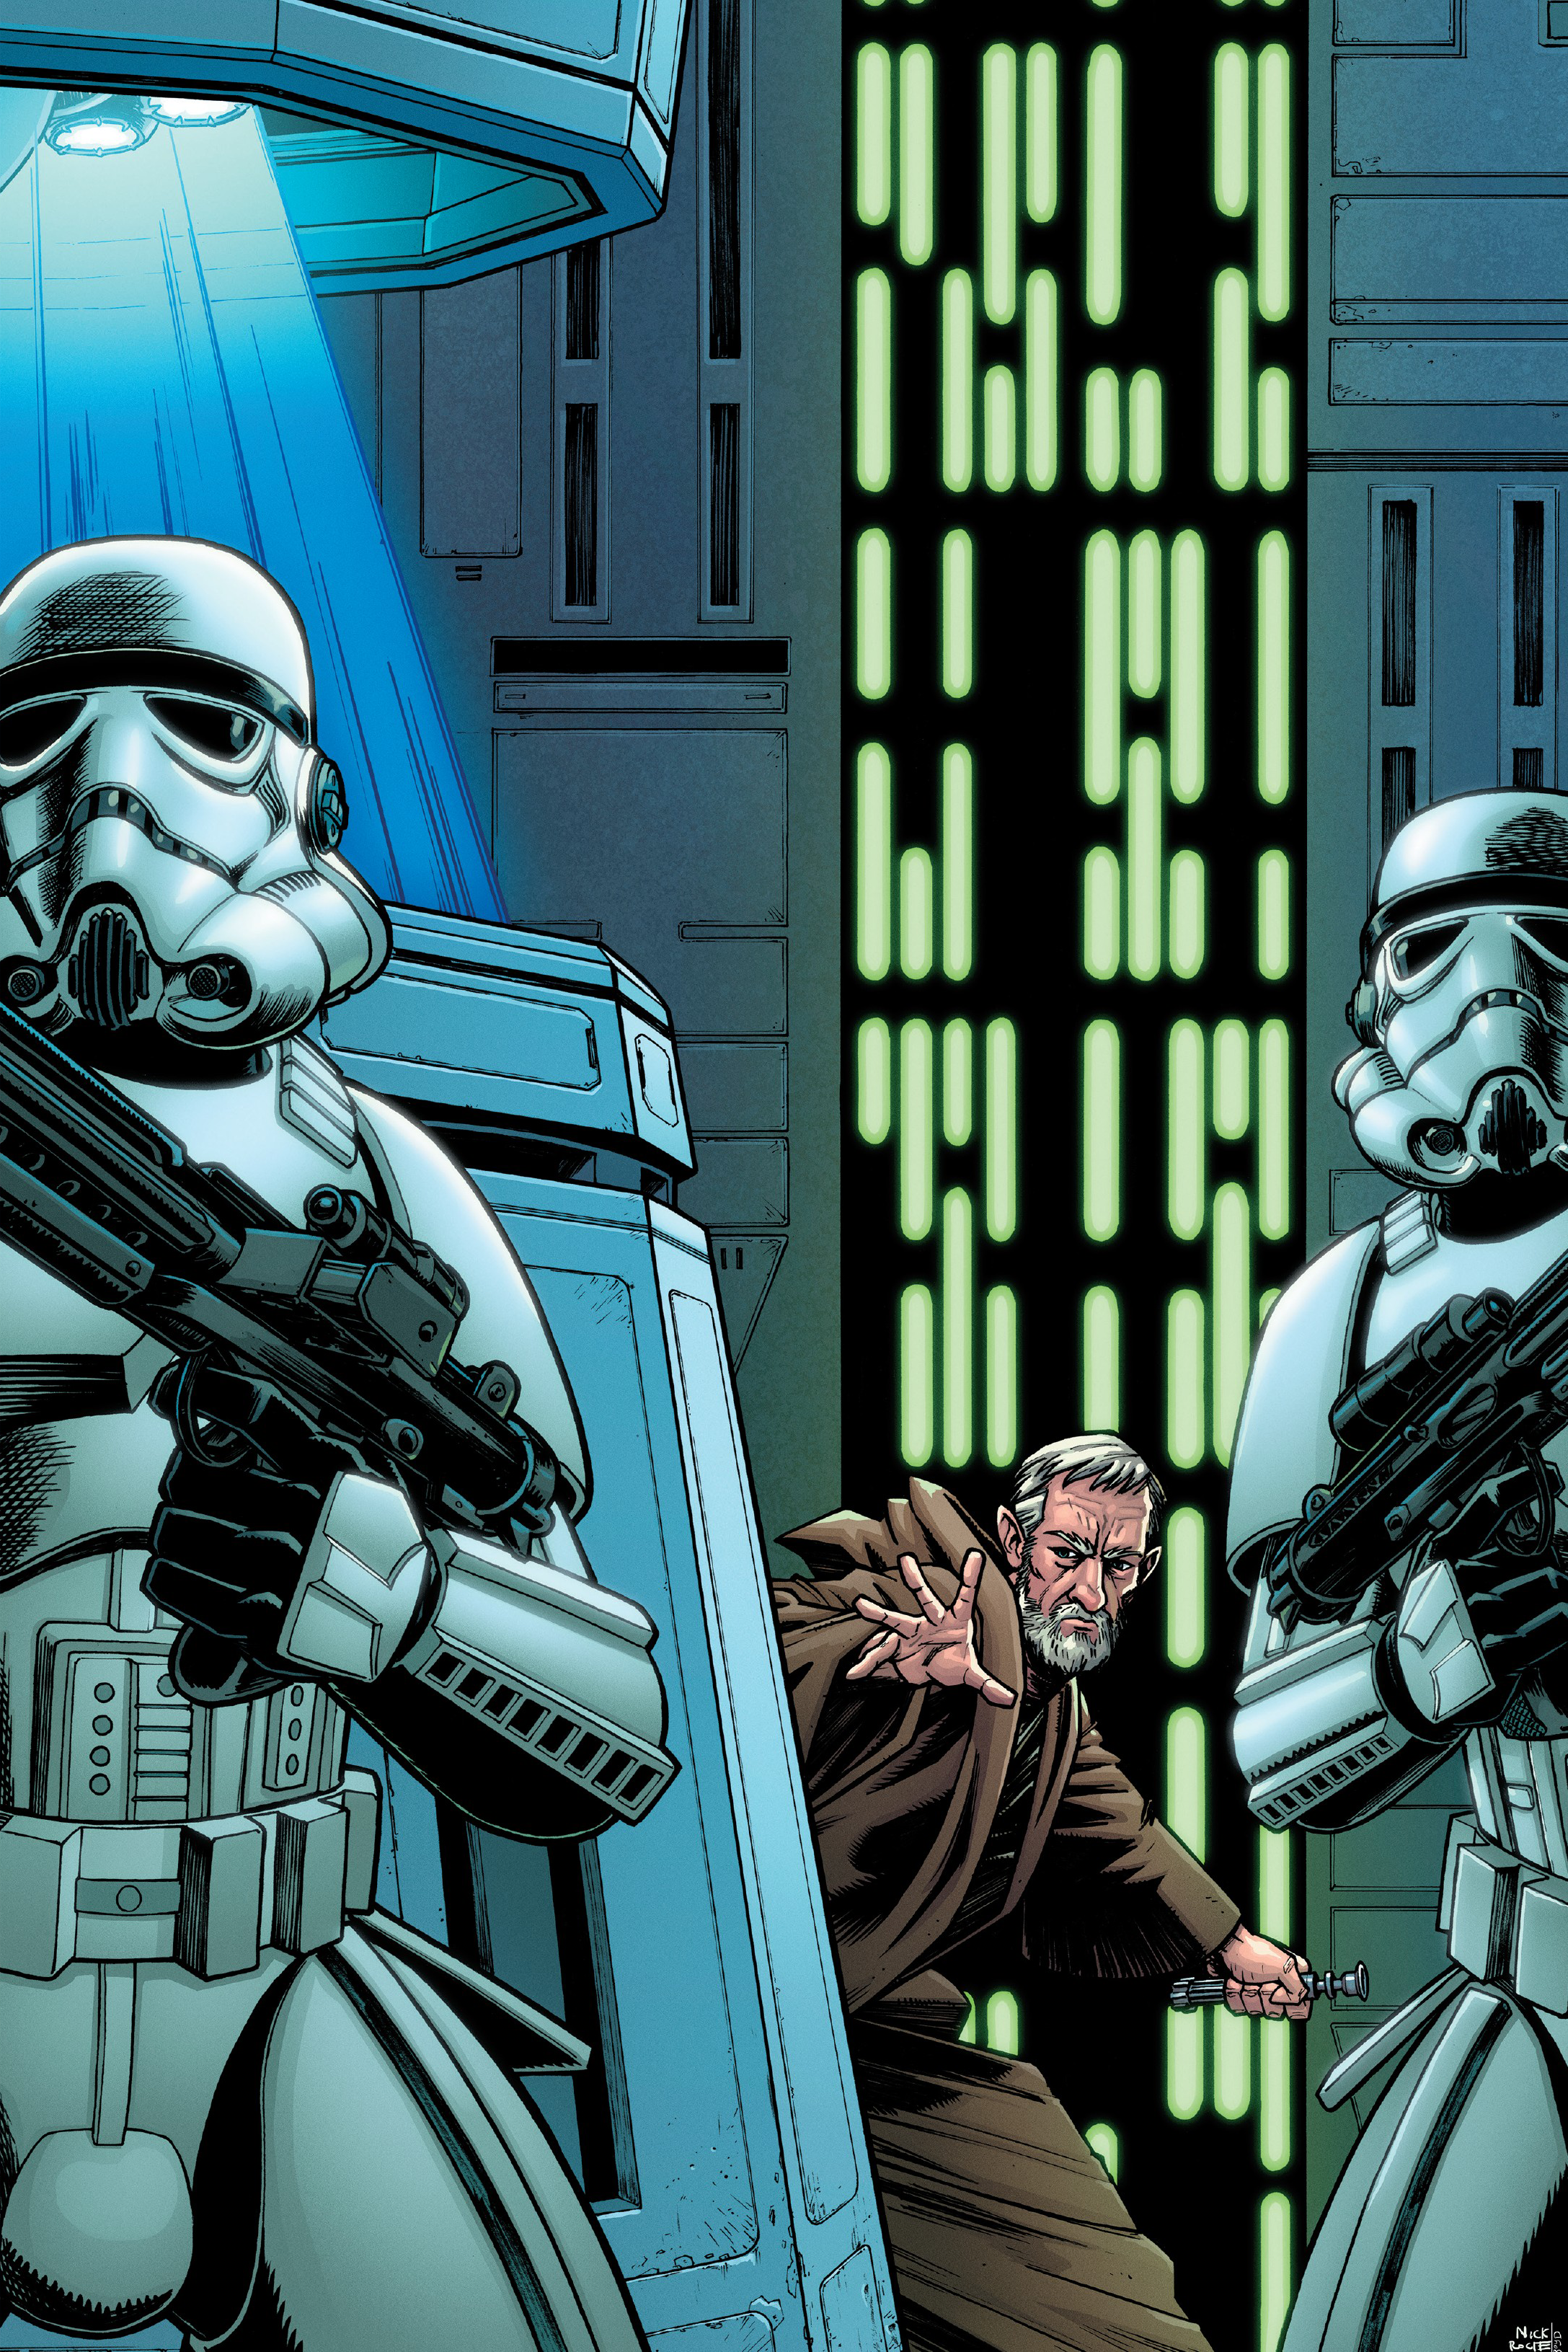
Meanwhile, after shutting down the tractor beam, Kenobi had made his way back to the hanger where the Falcon was being kept, musing suspiciously about how easy it had been to accomplish his objective. Just before reaching the hangar, he came face to face with his former apprentice, Darth Vader. Vader stood at the end of the hall leading to Docking Bay 327, lightsaber already ablaze and awaiting Kenobi. When Kenobi ignited his own weapon, Vader advanced on him, raising his weapon to attack. As Kenobi matched his pose, Vader expressed his pleasure at the chance of a rematch with his old master, boastfully asserting the superiority of his own power.
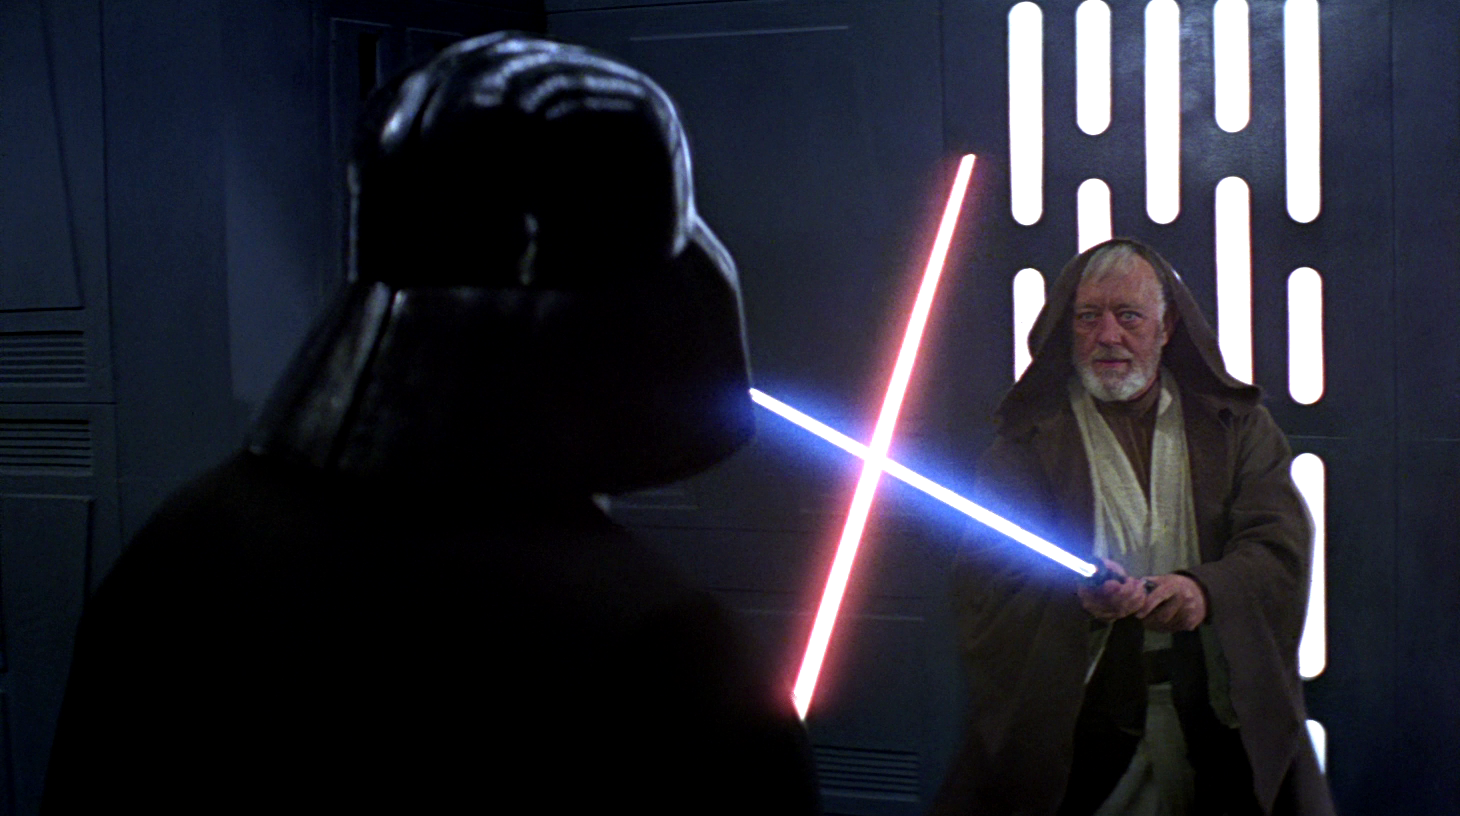
Obi-Wan duels with his former apprentice.
Kenobi chided the Dark Lord for his arrogance, mocking him with his Sith title, before attacking. Vader took the blow and swiftly riposted, forcing Kenobi to retreat. Kenobi then twirled and blocked a slash, weaving a defensive pattern with his blade. As they fought, Vader reflected that Kenobi still possessed great skill despite his age, but mocked that he was out of practice. Kenobi warned Vader that he could not win, and striking him down would only make him more powerful than his onetime pupil could imagine, mocking him with his Sith title once more. Vader dismissed this cryptic statement as merely a taunt and refused to be baited. Kenobi lunged again, but Vader was ready for it, bringing both combatants into a momentary bladelock. Vader shoved hard, breaking the lock, and forced Kenobi to pull back. Vader angled his blade upwards before declaring Kenobi should never have returned from exile.
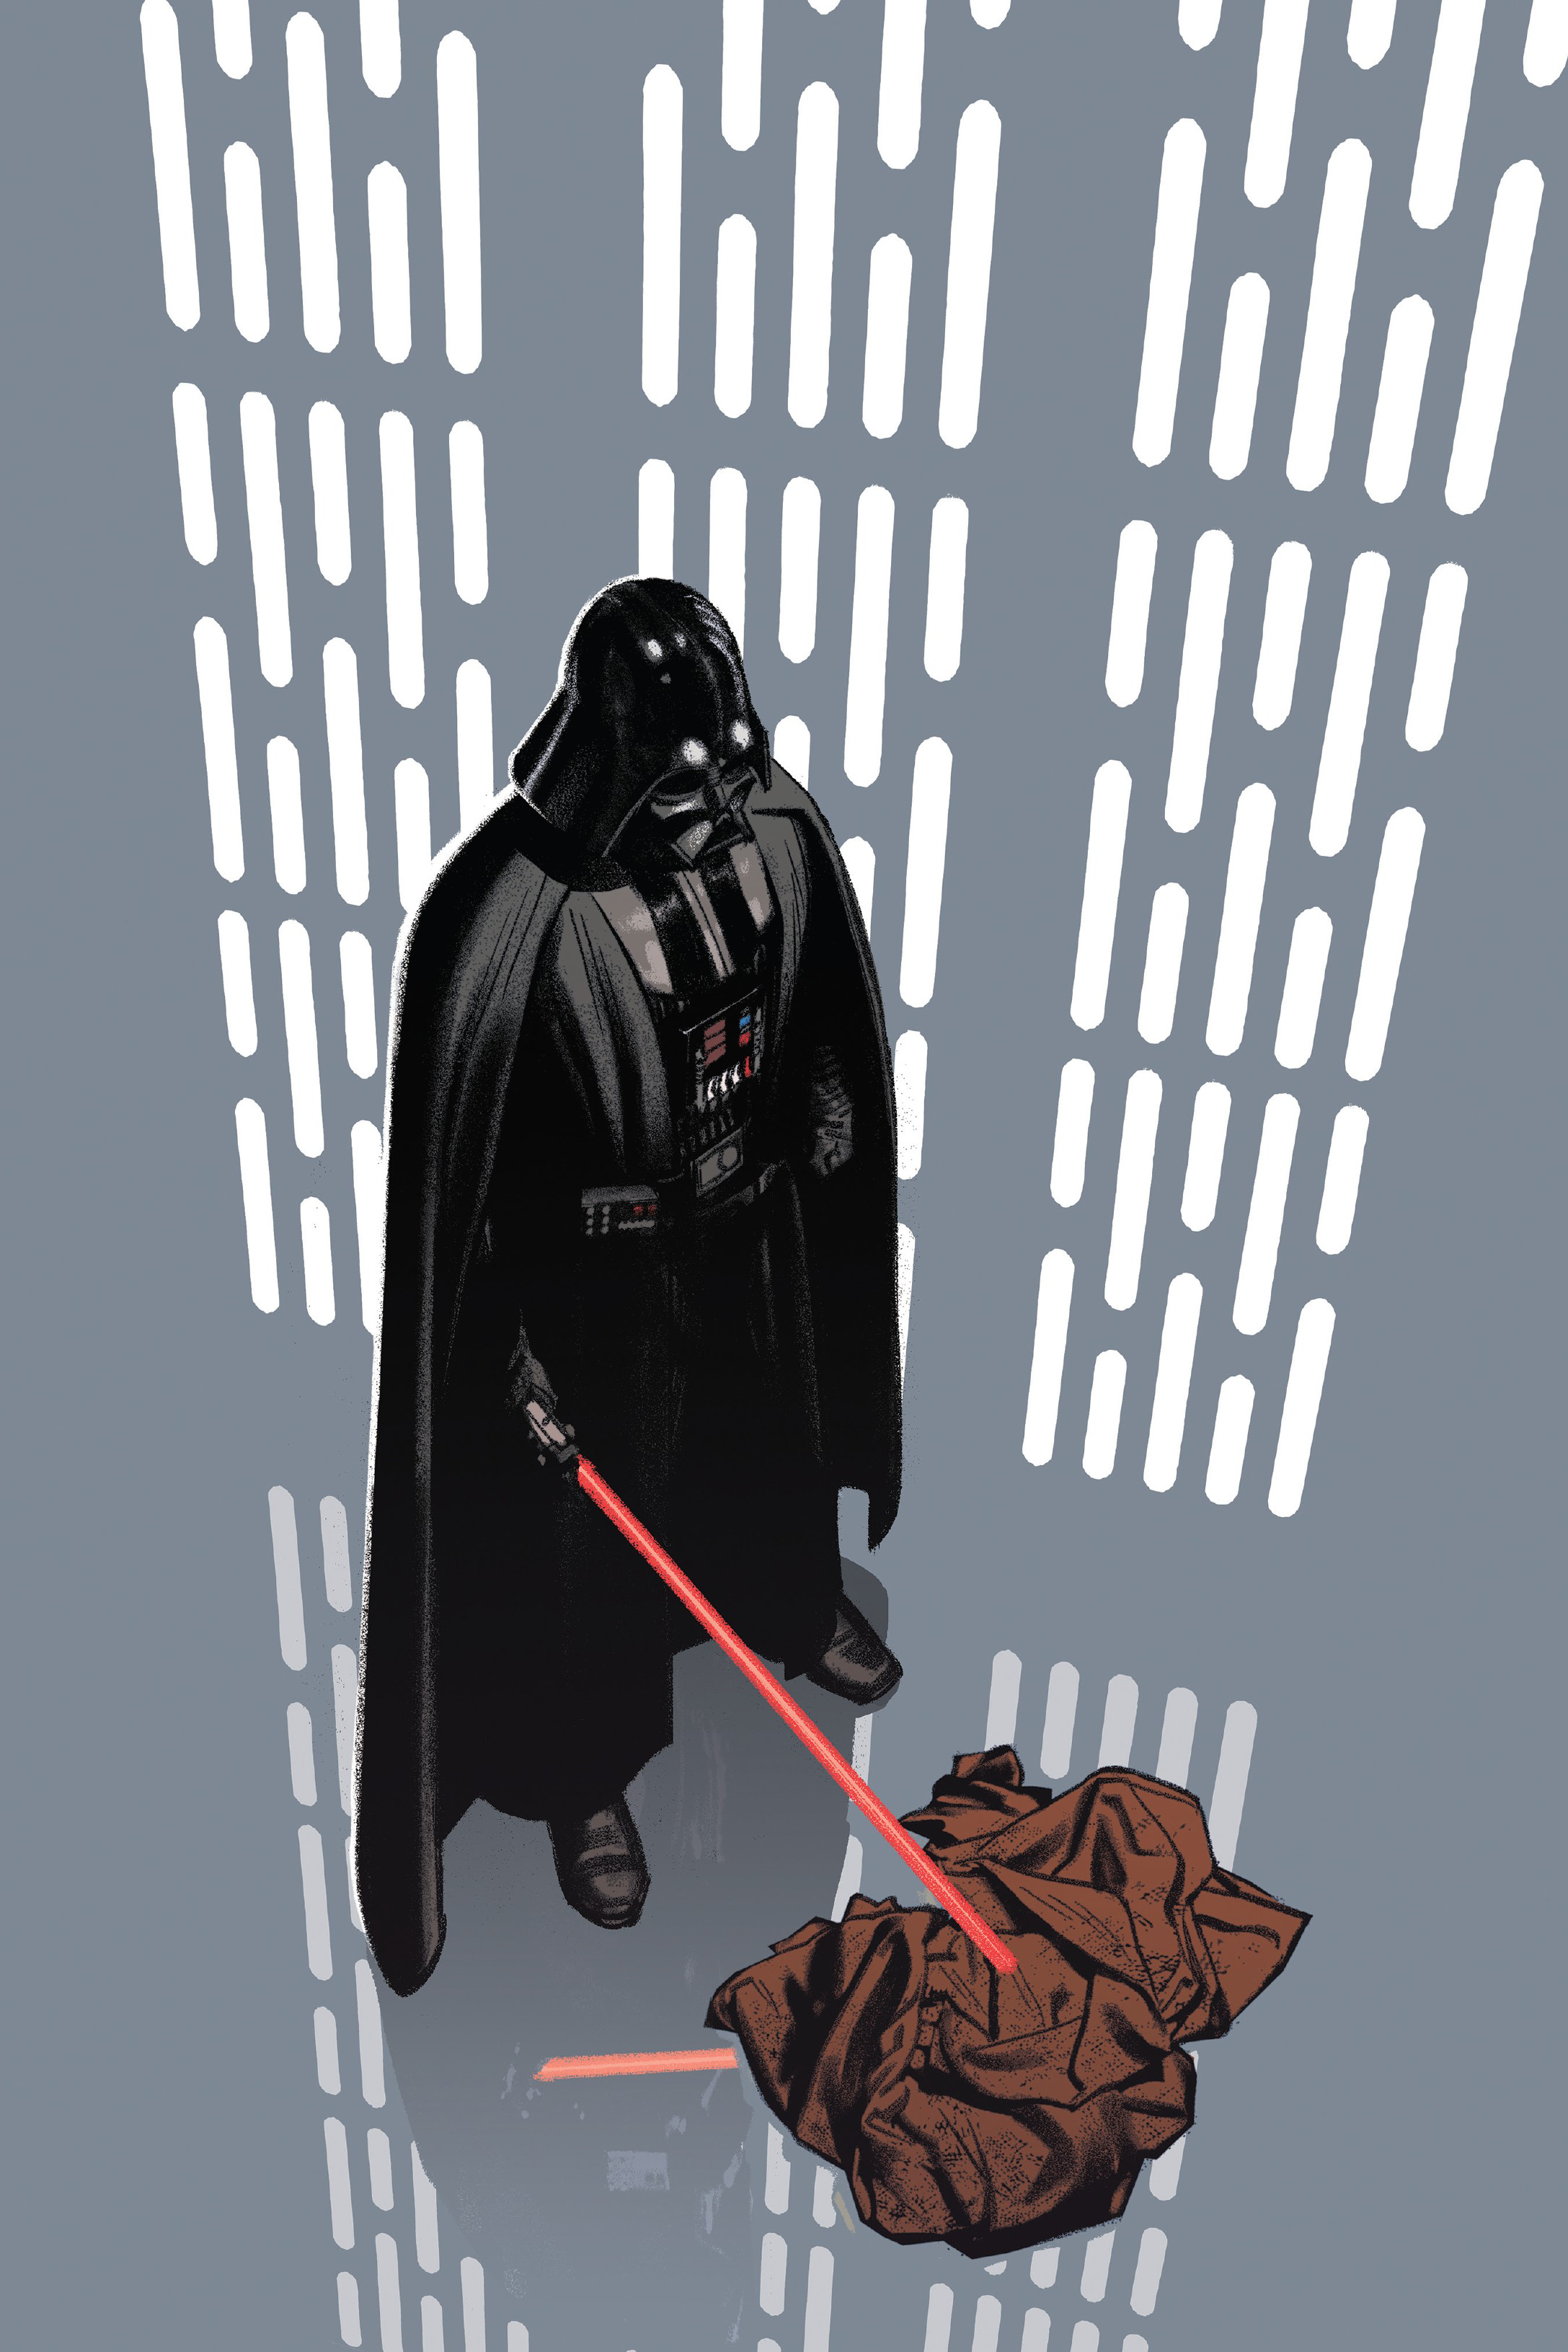
Vader stands over the empty cloak of his former master.
Backing away, Kenobi drew the duel into the open, right in front of the entrance to the main hangar. Vader attacked once more and began to push Kenobi towards a wall. Just as Vader was about to deliver a finishing strike, Kenobi unleashed a sudden flurry of attacks that forced Vader to pull back. As Jedi and Sith rapidly circled one another, the stormtroopers standing guard over the Falcon became aware of their battle and moved to watch the fight. This enabled Kenobi's companions, who had been waiting for just such an opportunity, to quickly sneak across the hanger to the Falcon. As they reached the ship, Skywalker noticed Kenobi and Vader standing in the doorway with blades crossed, and moved in for a closer look. Kenobi risked a glance into the hangar, where he saw that his companions had reached the ship. He turned to Vader, smiled wryly, and raised his lightsaber so the tip pointed straight up, deliberately lowering his guard and ceding the duel. Immediately seizing his opportunity, Vader slashed at Kenobi's neck but the Jedi Master vanished just before his blade struck, having become one with the Force.
Luke Skywalker, shocked and distraught by the death of his mentor, cried out in grief. This attracted the attention of the stormtroopers who had been observing the duel, who immediately turned and began shooting at Skywalker. As the firefight commenced, a shocked Vader inspected Kenobi's remains only to find the robes Kenobi had worn piled in a heap; his body had vanished. Skywalker, despite his shock at seeing Kenobi slain, was able to take out most of the stormtroopers guarding the Falcon as Darth Vader turned to the hangar. Seeing this, Skywalker locked out Vader by shooting the blast door's controls at Solo's urging. Though Skywalker, in his anger, was eager to finish off the remaining stormtroopers in the hanger, the disembodied voice of Obi-Wan Kenobi urged Skywalker to board the Falcon and escape. Kenobi's earlier deactivation of the station's tractor beam systems allowed the Millennium Falcon to leave the Death Star unhindered.
As they escaped, the Falcon encountered at least four TIE fighters on patrol. Despite Skywalker's grief, he and Solo were able to destroy the pursuing TIE fighters and finally escape to the Rebels' base on Yavin 4. While Solo congratulated himself on his role in the daring rescue, Princess Organa asserted that it was a ruse and that they were being allowed to escape. However, the rescuers did not know that the Empire had secretly stored a homing beacon aboard their ship, which gave the Empire information on the destination of the Falcon.
The rescue of Princess Leia first appeared with the release of the original Star Wars film, A New Hope.
Originally, Obi-Wan survived the duel against Darth Vader and fled aboard the Falcon. George Lucas was having problems generating tension in the story, so editor and Lucas's wife Marcia suggested Obi-Wan be killed. Lucas eventually agreed that Obi-Wan could be absent from the rest of the film. Actor Alec Guinness threatened to quit over the change, but Lucas convinced him that the change was better for the overall story.
- LEGO Star Wars: A New Hope
- Phineas and Ferb: Star Wars
- Star Wars Epic Yarns: A New Hope
- LEGO Star Wars: Droid Tales — "Mission to Mos Eisley"
- LEGO Star Wars: The Freemaker Adventures — "Crossing Paths"
- LEGO Star Wars: The Skywalker Saga