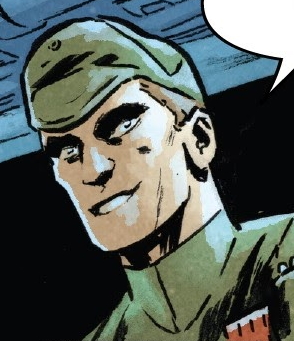
To command an IMPERIAL DESTROYER is a coveted position. But with such great responsibility comes grave consequences if you fail your mission. How far will one officer go to spare himself from the judgment of DARTH VADER?
A rebel spy narrowly escapes capture from Commander Tylux aboard the Star Destroyer, Bellicose. Although Tylux initially sees the spy's escape as failure, his crew convince him that the TIE pilots did an excellent job and that they will still gain a significant amount of intel from Rebel Alliance computers. The commander agrees and gives the order to send a message that their mission was a success.

Commander Tylux aboard the Bellicose
The commander soon receives word back that Darth Vader, Dark Lord of the Sith, is on his way to personally retrieve the captured spy. Worried about what Lord Vader might do when he learns they did not capture the spy, Tylux remembers a moment years ago where he witnessed the punishment for failure enacted by Lord Vader back when Tylux was a Lieutenant.
In a panic, the commander orders the ship to chase after the spy in order to capture him for Lord Vader. The Bellicose breaks away from the rest of the fleet, searching for the Rebel spy within a nearby asteroid field. The other officers aboard the ship are worried about sustaining too much damage from the asteroid field but are quickly quietened once the commander finds the Rebel vessel on the scanners.
The spy sees the Star Destroyer to his complete surprise and orders his droid, Exo, to move their ship or face being destroyed by the Imperial cruiser. The spy is soon followed by a number of TIE Fighters who are ordered not to destroy the ship, but disable it so the spy can be captured. To Tylux's delight, the spy's ship suffers a direct hit. Corned by the TIE fighters, the spy flees into a sandstorm on a nearby planet as a desperate attempt to escape.
Worried again about what Lord Vader may do to him, the commander orders the TIE pilots to continue down to the planet and capture the spy, despite his staff repeatedly warning him of the dangers the fighters will face if they enter the sandstorm. regarding what damage the sandstorm could cause to the pilots as they try to land.
The pilots struggle to see, as the officers predicted, and as the spy's engines overheat, so do those of the TIEs. The spy makes his way back out of the planet's atmosphere, hoping for the TIEs to follow him. The TIEs finally give out and the spy turns his ship around and picks off the Imperial ships as they sit there. Tylux further panics and orders the cruiser to follow the spy as he attempts to escape again, dragging the Star Destroyer even deeper into the asteroid field.

The Bellicose attempts to follow the spy
The spy comes across a Exogorth and flies directly towards the mouth as Tylux commands the Star Destroyer to follow the spy. The cruiser barely fits into the beast's mouth as the spy opens fire on the back of the creature's throat, creating an escape route for himself. The beast is ripped apart by the Star Destroyer as they continue their pursuit of the small fighter. Although the ship is now in range of the tractor beam, the system is down and there are mass power surges throughout the ship. It is revealed that a number of Mynocks are tearing out wires and other important equipment.
The commander orders to raise the shields to full power but they have already been downed by the Mynocks. Five Rebel cruisers come out of Hyperspace and left speechless, Tylux orders the crew to abandon ship. The Rebel cruisers fire upon the Star Destroyer and later, as the ship is about to be fully destroyed, Tylux sees Lord Vader approaching him; reminding him that failure is unacceptable.
- UPC 759606094004; March 27, 2019; Marvel Comics
- Star Wars: Vader — Dark Visions