An Imperial communications droid, sometimes called "comm droid" by his companions, played a significant role in the life of Ania Solo and her hunt for the Sith Darth Wredd in the aftermath of the second Imperial Civil War. Originally assigned to the Imperial Knight Yalta Val, the comm droid was severely damaged when Val was ambushed in the Surd Nebula, and he ended up as scrap in Solo's junkyard. The droid retrieved Val's lightsaber before fleeing from the nebula, however, and Solo's discovery of the weapon set a tumultuous series of events into motion. The droid soon afterward became loyal to Imperial Knight Jao Assam, and stuck by his de facto master's side while Assam and Solo tracked down Wredd.
In the year 138 ABY, an Imperial communications droid with masculine programming served the Galactic Federation Triumvirate. While on a mission to the Carreras system with the Imperial Knight Yalta Val, the comm droid was sent out into the Surd Nebula to act as a beacon due the nebula's blocking of communications. When Val's shuttle crashed onto the planet Mala, the Knight was ambushed by a Sith master and apprentice and taken prisoner. The comm droid checked for other survivors, found none, and then retrieved Val's lightsaber. While rocketing away from the planet on a course for the Triumvirate's home base of Coruscant, the droid was heavily damaged by tiny particles from the nebula. He made it only as far as the Carreras system, where he ended up in the junkyard of one Ania Solo.
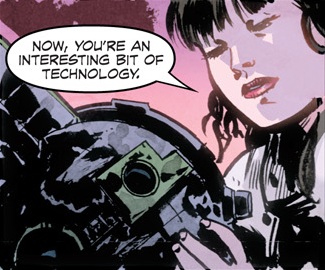
Ania Solo finds the communications droid in her junkyard.
One week later, Solo discovered the droid and brought him to her friend Sauk on a Carreras Minor ice mining platform, where the lightsaber was uncovered from the droid's interior. Their attempts to sell the weapon led to a run-in with the law, and their successful escape in Solo's ship only ended up with them attacked by the Sith apprentice—Darth Wredd—at Solo's junkyard. The IG-series droid AG-37 ferried Solo and Saul offworld in his freighter, where Sauk, devastated at finding himself a refugee and a criminal, tinkered with the comm droid and uncovered a hologram of Yalta Val dueling the Sith Master. On AG-37's request, the comm droid enhanced the image of Val's lightsaber, and the group realized that it was the same weapon as the one they possessed. A flight from a sudden blockade of Carreras starfighters led the freighter to Carreras Minor's surface, where Sauk was finally able to stabilize the comm droid's power source.
When the Imperial Knight Jao Assam, who was searching for his wayward comrade, showed up and saved the group from a tentacled serpent, the now-functional comm droid flew out of the ship on his repulsorlifts and played the hologram for the newcomer. He then provided the coordinates for the planet Mala, but the group's rescue attempt was cut short when they were caught in the tractor beam of a Shifalan patrol ship. The Shifalans were following the orders of Darth Wredd, who was posing as Yalta Val, and Solo's group were all thrown into holding cells in the Carreras G51 communications array. The comm droid was the lone exception, as he managed to hide in a floor compartment aboard the freighter; when the coast was clear, he escaped into the hangar where the freighter had been stored. Solo and her companions were freed by the Shifalan governor Biala, who was tired of "Yalta Val" undermining her authority, but Wredd attacked the group in the hangar and severely injured most of them.
Jao Assam in particular was knocked out of the hangar and into the vacuum of space, but the comm droid followed, placing a breath mask onto the Imperial Knight's face and keeping him alive. Solo, having emerged from the battle relatively unscathed, hopped into Assam's starfighter and followed the departing Wredd to Mala, where she freed Yalta Val from his chains. Wredd was in the midst of using the communications array to broadcast his declaration of an insurgency against both the Triumvirate and the One Sith, but Solo's intervention stopped him from killing Val in front of the galaxy, and the two Force users dueled briefly before the Sith fled. Solo, meanwhile, returned to the array and brought her injured comrades aboard AG-37's freighter; she then returned to Mala and picked up Val in time to save him from the array, which Wredd had rigged to crash onto the planet's surface. As the freighter made its way out of the system, its crew came across Assam and the comm droid and brought them aboard.
Assam rested aboard the freighter, but the damaged vessel was unable to make lightspeed. The comm droid repeatedly broadcasted a distress signal, which was eventually picked up by the Animus, a Triumvirate-aligned Star Destroyer. The Destroyer rescued the freighter and began to make its way to Coruscant, and the comm droid hovered through its corridors, eventually finding Assam recovering in a bacta tank. At that moment, Assam experienced a Force vision of Darth Wredd striking down his Empress, Marasiah Fel, and he resolved to hunt for the wayward Sith despite explicit orders to the contrary from Her Imperial Majesty. Sauk and AG-37 departed from Solo's company aboard the latter's repaired freighter, but Solo, Assam, and the comm droid took a shuttle and began their hunt, leaving with the reluctant blessing of Yalta Val. Their first stop was the planet Nalyd, where a criminal database had revealed that Dieben, a minion of Wredd's, had recently been extradited.
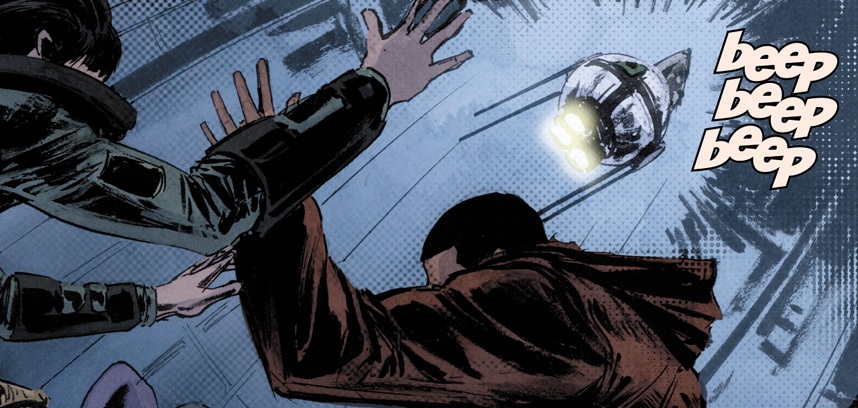
The comm droid broadcasts the depth of his group's sinking escape pod.
From Nalyd, the trail led to Dac, a water world whose oceans had been poisoned during the recent Imperial Civil War. In the system, the shuttle was attacked and taken apart by pirates, which caused its barely-functioning cockpit to make a crash landing inside the Mon Calamari Orbital Shipyards that orbited the dead world. After disposing of the pirates who boarded the shuttle, Solo and Assam began to explore the shipyards, with the comm droid in tow. When they found that the pirates were building a fleet using Mon Calamari and Quarren refugees as slave labor, the comm droid was ordered by Assam to send a message to Coruscant using Imperial encryption. The group was then discovered by the slaving ring's leader, the Sith Lord Darth Luft. The Sith threw Solo, Assam, the Mon Calamari Luen, and the Quarren Tikin into an escape pod, and the comm droid quickly followed his friends inside before the pod was launched into the poisoned oceans of Dac.
As the pod sank, the comm droid reconfigured his antenna to continually broadcast the depth of the pod. The signal was picked up by AG-37 and Sauk, who were nearby, and the two were able to pilot their freighter into Dac's oceans and recover the escape pod with a harpoon and tow cable. As the reunited group discussed their plans in a shipyard hangar, Tikin stormed back to his post rather than get involved. Assam resolved to take on Luft in order to locate Wredd, even as the others departed in the freighter to find reinforcements. The comm droid steadfastly followed Assam, but when Tikin betrayed their plot to Luft, Assam and the droid were discovered and forced to dodge a hail of blaster bolts. Tikin was killed by Luft despite his attempt to cooperate with the Sith, and as Assam confronted Luft, the furious Mon Calamari and Quarren slaves began to rise up against their captors. Meanwhile, a Triumvirate fleet led by Admiral Gar Stazi and Yalta Val—who had received the comm droid's message—arrived in-system and the pirates.
As Stazi flooded the shipyards with water from a tanker, the comm droid plotted an escape and made his way to a hatch, which he opened by slicing into its controls. The water crystallized into an ice plume as it escaped into space with him, but the droid avoided being frozen and stayed close to the shipyards' exterior as the battle raged. After receiving a request from Solo, he closed the doors to Bay 519C just in time to save her and a group of refugees from being sucked into space. The death of Darth Luft at Assam's hands and the subduing of the pirates by Val's Imperial Knights and seatroopers ended the battle, and Solo's group re-embarked on their hunt for Darth Wredd. Their vehicle was the freighter of AG-37, who had decided that hunting for Wredd was the right thing to do. In the ship's cockpit, a message came through for Assam, and he, along with Solo, Sauk, AG-37, and the comm droid watched as a hologram of their target appeared. The renegade Sith had been systematically murdering members of the One Sith in an attempt to bring back the traditional Sith Rule of Two, and he thanked Assam for taking out Luft and helping further his ultimate goals.
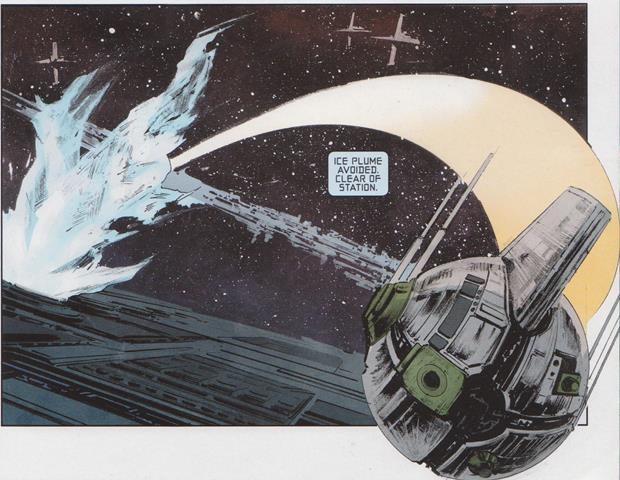
The comm droid narrowly avoiding an ice plume
During their hunt, the makeshift crew of AG-37's freighter found delivery work as part of their captain's shipping business. Early in the year 139 ABY, The comm droid was hovering outside of the ship's bridge as AG-37 piloted them through a precarious minefield. AG-37's success allowed them to land at Lasgo Port on their target planet and deliver their goods, but to everyone's surprise, the group discovered a "Wanted" poster of Solo on the surface. Back in space, a micro-meteor penetrated the freighter's shields, which prompted Sauk to send the comm droid out into space to check on the damage. As the droid repaired the puncture, he noticed a commotion coming from a nearby derelict ship and proceeded to investigate—with the rest of his crew watching via his live camera, the comm droid peered into the derelict's transparisteel panels and saw survivors. AG-37's crew immediately docked with the ship and provided it with atmosphere. One of the survivors was Ramid, and old friend of Solo's, but Ramid and his crew quickly kidnapped Solo and detached from AG-37's freighter. After detonating a mine that damaged AG-37's ship, Ramid escaped into hyperspace.
AG-37, Sauk, and Assam were able to repair the freighter and begin searching for Solo, and they were eventually able to locate Ramid's ship on a planet that sometimes rained glass. A search of the downed vessel revealed only corpses, none of them Solo's or Ramid's, and a sudden glass storm forced Sauk and Assam to seek refuge back in the freighter. AG-37, however, set out in the glass rain to locate their quarry. While his biological friends waited, the comm droid received a transmission from Yalta Val on Coruscant and played it for them. Val revealed that Solo was innocent of the crime for which she was being framed—the murder of Imperial Knight Teemen Alton—as Alton had been killed by someone with a prosthetic hand. When AG-37 located Solo at the planet's only outpost, Sauk and Assam brought the freighter there, and Assam dismounted. Sauk was forced to take the ship above the clouds, however, as acid rain began to fall..
The comm droid remained aboard AG-37's freighter while Jao Assam ventured into the settlement to rescue Ania Solo. There, Jao found that Ramid had been killed and that Ania was being attacked by an unidentified masked bounty hunter, the real killer of the Imperial Knight whom Ania was alleged to have murdered. While Jao and Ania succeeded in killing the bounty hunter following a prolonged fight, Ania was subsequently arrested by a force of Trandoshan stormtroopers and brought back to Coruscant to face trial. However, Master Val and Jao Assam succeeded in clearing Ania's name by presenting evidence that Ania was not the real killer and that real killer, the bounty hunter, had a prosthetic hand. Following Ania's acquittal, the comm droid accompanied Sauk and AG-37 when they were reunited with Ania. However, Jao was arrested and imprisoned for the crime of deserting the Imperial Knights.
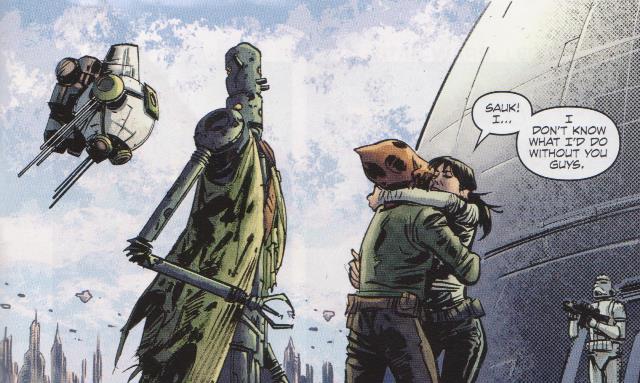
The comm droid was always seen with Ania and her companions
Following Ania Solo's kidnapping and rescue, the rogue Sith Darth Wredd resurfaced and kidnapped Jao Assam. The two of them then escaped Coruscant and headed for parts unknown. Galactic Empress Marasiah Fel then dispatched Ania, Sauk, AG-37, and a platoon of Trandoshan stormtroopers to rescue Jao Assam. The comm droid accompanied Ania and her companions on this mission to rescue Jao. Their quest took them to the floating world of Mala. Mala had been the former home world of Darth Wredd prior to its destruction towards the end of the Second Imperial Civil War. The One Sith had tested a bioweapon on the planet, destroying all life on Mala and knocking the planet from its orbit. Darth Wredd was the sole survivor and was forced to join the One Sith but harbored a desire for vengeance against the Sith. After killing his master, Wredd had embarked on a one-man insurgency against the One Sith. He also intended to recruit Jao as his apprentice and to bring him over to the dark side of the Force.
Darth Wredd planned to lure the One Sith and Empress Fel to Mala where he intended to exact revenge against the Sith and to kill the Empress. Wredd tricked Jao into transmitting Mala's coordinates to Ania's rescue party, the One Sith, and Empress Fel. As planned, Ania and company discovered Mala and rescued Jao. During the rescue mission, the comm droid served as a torch light for the rescue party. The comm droid was also present during a fierce battle between Ania's rescue mission and a large One Sith army. Ania's mission was later reinforced by an army of Imperial Knights led by the Empress herself. The Imperial Knights succeeded in wiping out the One Sith army, thus playing into Darth Wredd's hands. Darth Wredd then attempted to assassinate Empress Fel but was thwarted and killed by Jao and Ania. The comm droid was present at the death of Darth Wredd and the reunion between Jao and Master Val. Following Jao's pardon, the Imperial Knight was allowed to resign from his Order and join Ania, Sauk, and AG-37. The comm droid accompanied Jao and Ania's company on their travels throughout the galaxy.
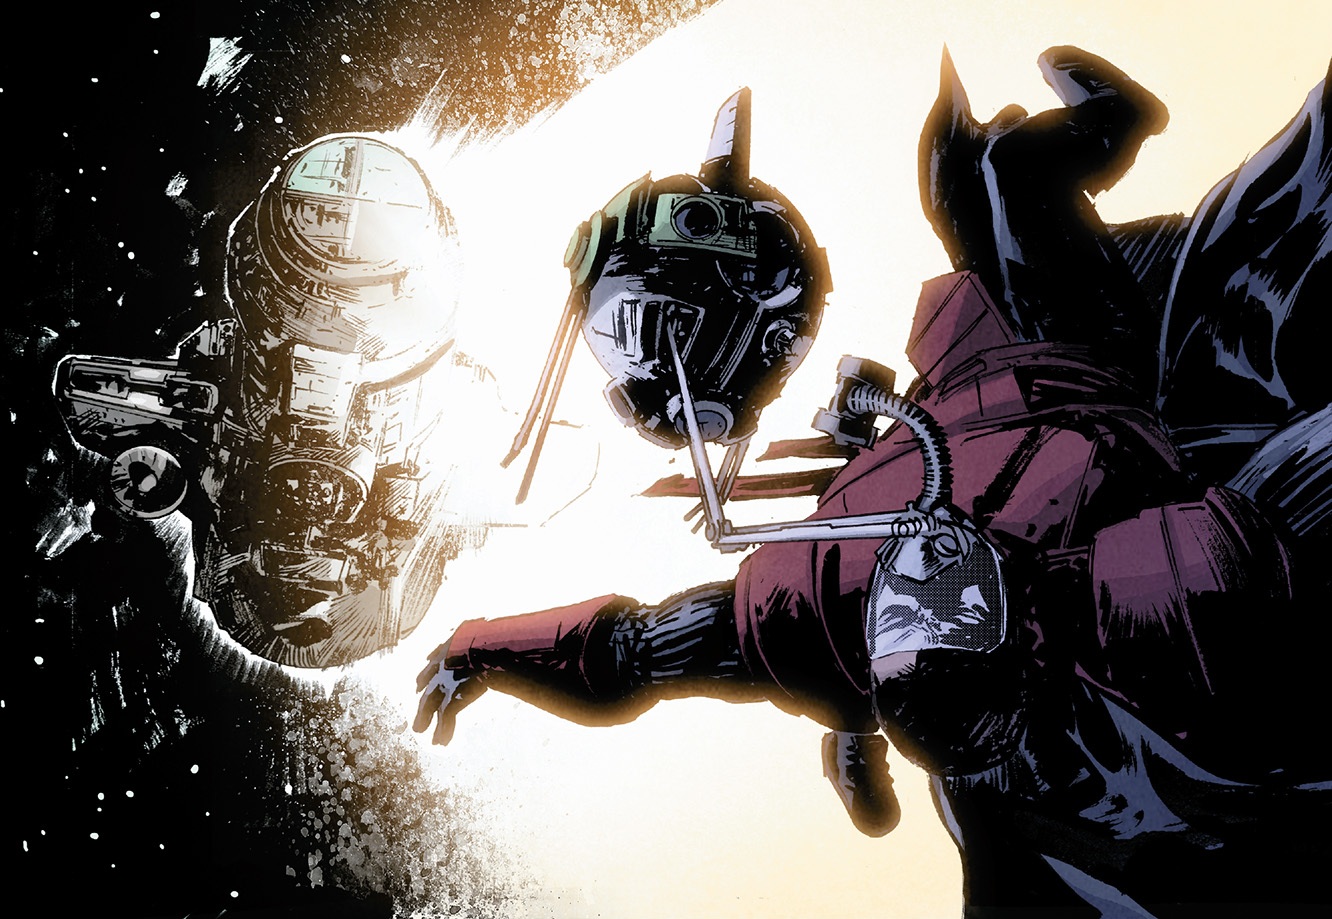
The droid rescues Jao Assam from deep space.
The Imperial communications droid, sometimes simply called "comm droid" by his companions, was small and spherical, not much bigger than the head of an average Human. He hovered on repulsorlifts and was also equipped with sublight drives that enabled him to fly through the vacuum of space. As a communications droid, he could send and receive signals that could travel long distances, and he possessed both a video camera and a holoprojector, each of which could both record and play. The comm droid could also slice into electronic systems. Mostly light gray in color but with some green on his exterior, the droid also had a single blue photoreceptor. A large fin extended from the top of his frame, and four thin limbs protruded below, as did three electric lights. An additional limb could extend from the front of his frame that could be used to manipulate tools. Although he was described using masculine pronouns by some, at least one other droid referred to him as "it."
Although originally assigned to Yalta Val, and programmed to send messages that bore Val's personal stamp, the comm droid became quickly loyal to Jao Assam during the Carreras Incident. AG-37 posited that the droid believed Assam had come to Carreras just to rescue him, and that the droid consequently felt he owed a debt of gratitude to the Imperial Knight. The droid saved Assam from death by exposure to deep space, and he continued to follow Assam in the aftermath of Carreras, joining him on his hunt for Darth Wredd and staying aboard the Mon Calamari Shipyards with Assam after all of their friends had fled the yards to find reinforcements. The droid also voluntarily entered an escape pod with Assam that was bound for the poisoned oceans of Dac, and from there broadcast a signal that ultimately led to the Imperial Knight's salvation. Assam thought his companion a "smart little guy." The comm droid displayed a dose of curiosity when he investigated a nearby derelict ship, despite his companions' insistence that there was no time to do so.
The communications droid was created by authors Corinna Bechko and Gabriel Hardman as a character in the comic series Star Wars: Legacy Volume 2. He was mentioned in the solicitation for the series' first issue, and he has since appeared in every issue of the series save for its twelfth and thirteenth. He is, however, yet to receive a name. The droid has been drawn by both Hardman and Brian Thies, and has been colored by Rachelle Rosenberg and Jordan Boyd.
The comm droid appeared on a phantom variant cover of Legacys first issue that paid homage to the classic 1977 poster for the original Star Wars film. In the picture, the comm droid occupies space in the top left corner that in 1977 was taken by the Death Star.