The Skirmish near Brigia was an Imperial attack during the the transfer of wounded following the evacuation of Brigia.
Following the evacuation of Brigia, several shuttles, along with the CR90 corvette Korolev were transferring wounded personnel to the medical frigate Redemption. The Imperial Nebulon-B frigate Warspite dropped out of hyperspace and launched TIE Series fighters. It then jumped to hyperspace again, emerging on the other side of the transfer and launching more fighters.
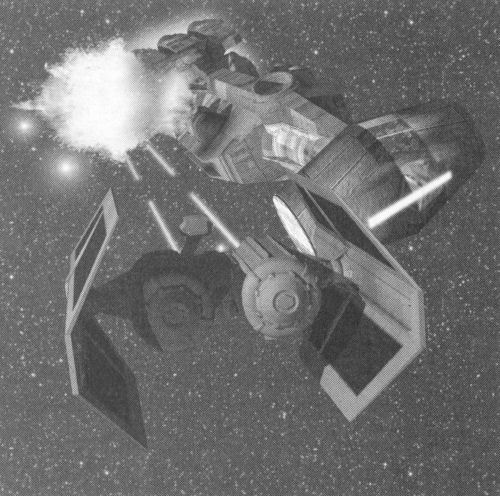
The Korolev is attacked by a TIE bomber.
The defending Rebel X-wings had moved to intercept the first wave and were out of position for the second wave. The pilots of Red Squadron, particularly Keyan Farlander, were able to evade the TIE/LN starfighters long enough to destroy both waves of TIE/sa bombers and all Rebel ships escaped successfully. Key to their success was Farlander's decision to use his proton torpedoes to destroy the first wave of TIE Bombers quickly, along with ignoring the threat of the TIE Fighters, which were attacking the X-wings themselves, until all TIE Bombers had been destroyed.
A simulation based on this battle would later be part of the New Republic's training program. When Wedge Antilles reformed Rogue Squadron, this test was used as one of the benchmarks for candidates to enter the squadron.
- X-Wing: The Official Strategy Guide
- The Complete Star Wars Encyclopedia