Not long after the successful Ambush in the Derilyn system, the Rebel Alliance received a distress call from the Airam factory Gallofree, where the Strike-class cruiser Peregrine had been refitted.
The gutted ex-Imperial interdictor Compellor, left behind by the Rebels as planned, detonated in full view of the Imperial strike team as the elements of Admiral Senn's Task Force Vengeance approached the factory. The Imperial battle group then moved in to retaliate against the factory personnel.
Rogue and Green Squadrons, along with three Gallofree medium transports of Rescue Group, jumped into the Mobetta system to evacuate the Airam from the factory before it was destroyed. What greeted them was a significant Imperial force, consisting of the Imperial I-class Star Destroyers Juggernaut and Titan, as well as three Corellian corvettes, all moving in alongside their substantial fighter screens to destroy the factory.
Green Squadron quickly destroyed the spearheading corvettes with a warhead volley while Rogue Squadron dispatched the incoming bombers. However, the nimble Imperial fighters quickly closed to range with the Rogue X-wings, and the Rogues got caught up in heavy dogfights with the elite Imperial Avenger Squadron and several flight groups of TIE/IN interceptor craft.
Despite an overwhelming assault by the marauding fleet, both the Rogues and Greens managed to hold off the Imperial TIE starfighters long enough for the transports to complete their mission. After the last transport made the jump to hyperspace, all Rebel fighters followed suit, leaving two slightly damaged Star Destroyers and the abandoned space factory behind.
While technically a loss for both the Airam and Rebels (despite the heavy fighter losses on the Imperial side), this battle heavily improved relations between Airam clan leader Tamaron and the Alliance. Tamaron agreed to deliver a large payload of warheads to the Alliance's sector fleet, which led to the Mission to Kuras Drift.
Not long after the successful Ambush in the Derilyn system, the Rebel Alliance received a distress call from the Airam factory Gallofree, where the Strike-class cruiser Peregrine had been refitted.
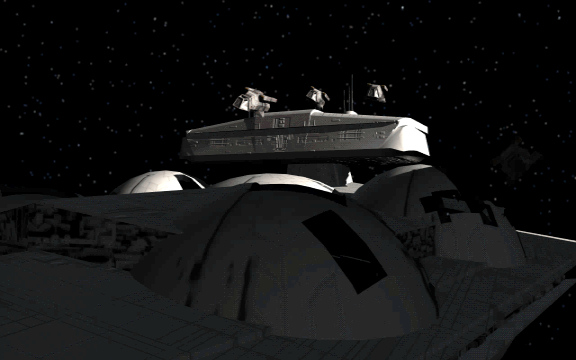
Delta-class stormtrooper transport trying to board the interdictor Compellor just before its self-destruction.
The gutted ex-Imperial interdictor Compellor, left behind by the Rebels as planned, detonated in full view of the Imperial strike team as the elements of Admiral Senn's Task Force Vengeance approached the factory. The Imperial battle group then moved in to retaliate against the factory personnel.
Rogue and Green Squadrons, along with three Gallofree medium transports of Rescue Group, jumped into the Mobetta system to evacuate the Airam from the factory before it was destroyed. What greeted them was a significant Imperial force, consisting of the Imperial I-class Star Destroyers Juggernaut and Titan, as well as three Corellian corvettes, all moving in alongside their substantial fighter screens to destroy the factory.
Green Squadron quickly destroyed the spearheading corvettes with a warhead volley while Rogue Squadron dispatched the incoming bombers. However, the nimble Imperial fighters quickly closed to range with the Rogue X-wings, and the Rogues got caught up in heavy dogfights with the elite Imperial Avenger Squadron and several flight groups of TIE/IN interceptor craft.
Despite an overwhelming assault by the marauding fleet, both the Rogues and Greens managed to hold off the Imperial TIE starfighters long enough for the transports to complete their mission. After the last transport made the jump to hyperspace, all Rebel fighters followed suit, leaving two slightly damaged Star Destroyers and the abandoned space factory behind.
While technically a loss for both the Airam and Rebels (despite the heavy fighter losses on the Imperial side), this battle heavily improved relations between Airam clan leader Tamaron and the Alliance. Tamaron agreed to deliver a large payload of warheads to the Alliance's sector fleet, which led to the Mission to Kuras Drift.