The One Oh Third Task Force was a task force within the Imperial Navy under the command of the long-serving Admiral Durril. Its flagship was the Imperial I-class Star Destroyer Judicator, which was backed up by multiple smaller craft, including Arquitens-class light cruisers.
In 2 BBY, during the Imperial Era, the One Oh Third participated in an attempt to capture Scrim Island on the planet Batonn from a group of insurgents, as part of a wider effort to enforce order over the Batonn sector. However, the assault failed after Durril fell victim to his opponents' tactics, with much of the task force being immobilized by enemy ion cannons.
Although the Imperial ships managed to escape from the battle, Durril's request at another attempt was denied by his superior, and the One Oh Third was sent away to be repaired at the Marleyvane shipyards. Instead, Durril's rival, Admiral Thrawn, was responsible for taking the island, later defeating the rest of the Batonn insurgents with help from TIE fighters lent from the One Oh Third.
The Imperial Navy's One Oh Third Task Force consisted of eight main starships, including the Imperial I-class Star Destroyer Judicator as its flagship. Supporting the Star Destroyer were two screening corvettes, two frigates, and three light cruisers—at least two of which were Arquitens-class light cruisers. The task force also featured at least three TIE fighter squadrons aboard the Judicator, the pilots of which were regarded as very capable.

Fleet Admiral Donassius called upon Durril's One Oh Third Task Force to combat the Batonn insurgents.
During the Imperial Era, the Galactic Empire's One Oh Third Task Force was commanded by Admiral Durril. In 2 BBY, he, along with the Chiss Admiral Thrawn of the 96th Task Force and Admiral Kinshara of the One Twenty-Fifth task force, was summoned by Fleet Admiral Jok Donassius to the planet Coruscant to discuss a growing threat from several allied groups of insurgents in the Outer Rim Batonn sector.
Thrawn was originally tasked with assaulting the planet Batonn first, as it was the focal point of rebel activity in the sector. His target was Scrim Island, an armed facility with around a hundred hostages that had been taken over by insurgents five days prior to the meeting. Thrawn, concerned with the three ion cannons and energy shield defending the facility, was quickly confronted by Durril, who dismissed the Chiss's plan of a breach from above in favor of a low-altitude incursion with assault boats full of stormtroopers.
Thrawn considered this solution, but he believed the island's shoreline defenses could repel such an attack, and so requested more time to study the situation. However, Donassius denied this request, instead ordering immediate action, such as the destruction of the island. Thrawn refused this option due to the presence of the prisoners, and so Donassius reassigned the attack on Scrim Island to Durril and the One Oh Third Task Force, with Thrawn's Ninety-Sixth instead attacking the world of Sammun.
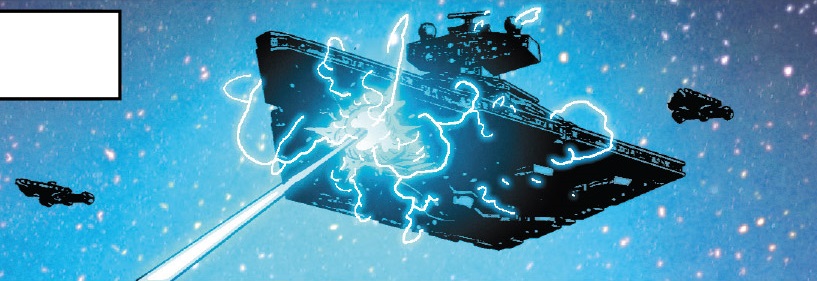
The Judicator was hit by an ion shot, disabling it.
Following the meeting, Durril and his task force set out for Batonn. However, Thrawn and his aide, Eli Vanto, also secretly traveled to the planet in a stolen smuggler's freighter to observe the battle from a safe distance, as they were confident that the One Oh Third would fail. In orbit over Batonn, Durril, leading from the Star Destroyer Judicator, had set out his task force in a siege array, although it was notably non-standard due to the absence of a starfighter screen and the abnormally far distance of two of the light cruisers from the Judicator.
There was also a lack of response from the insurgents, and Thrawn suggested they could be negotiating. The Chiss admiral's freighter was briefly scanned by one of Durril's screening corvettes, although the transponder identified the former smuggler's ship as a properly licensed freighter, allowing it to remain.
Following the scan, the first salvo was fired, followed by a full barrage from the Judicators turbolasers, although the island's energy shield held against the bombardment. The second and third salvos were then fired, now from all of Durril's task force, despite there being no response from the enemy. Again failing to breach the shield, the commanding admiral then brought his screening corvettes closer to the Star Destroyer, which allowed him to demonstrate the full firepower of the One Oh Third.
Despite the assault, Durril had initially focused all his firepower at the center of the island's shield, and he failed to notice when the edges of the shield on the western and southern shorelines started to contract. This temporarily revealed some of the insurgents' ion cannons, allowing them to fire two shots, which directly hit the Judicator, disabling it. Although Durril then ordered his light cruisers and frigates to fire on the northern and western shorelines' cannons, the shield had already recovered the ion cannons following their attack, deeming the orbital bombardment useless.
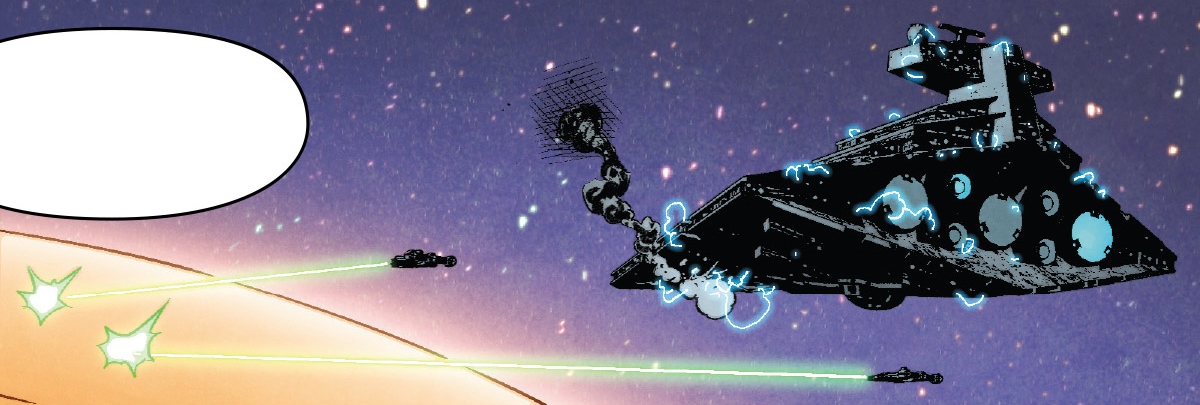
The One Oh Third's support ships firing on Scrim Island
Some of the support ships then recommenced firing on the center of the shield to try and overload it, while others continued to fire on the now protected ion cannons, as Durril tried to get his systems up and running again. The northern shoreline was then exposed by the shield, but again Durril failed to notice, with his ships firing uselessly at the western and southern shoreline emplacements. This allowed the insurgents to fire off another ion shot, heavily damaging the Judicators portside escorts: a frigate and two light cruisers. Despite the damage to the escorts' sensors and turbolasers, which forced them to secondary weapons and auxiliary drives, Durril still maintained his ineffective attack pattern. Instead of relocating his ships, the admiral kept up the bombardment of the latest site of ion fire, which allowed for another salvo to completely immobilize the same group of escorts.
However, upon this attack, a group of seven insurgent craft carrying ordnance were also allowed to escape the shield to the main continent, using the chaos above, minimal cloud cover, and the reflected sunlight glare to remain unnoticed, bar Thrawn. An eighth insurgent ship also escaped the island, this time to space, although it was later pursued by Thrawn's craft after he had transmitted an emergency distress signal on Durril's behalf and sent the Ninety-Sixth Task Force's cruiser Shyrack to monitor the other seven ships.
As the enemy ships escaped, the shield shifted again, allowing for three turbolaser salvos from the western shoreline to strike the Judicators starboard superstructure, which burned through its metal hull. Durril's four undamaged escort craft eventually reacted to this attack, targeting the western area of the island, but again they were too slow for the returning shield, failing to notice or exploit the continued tactic.
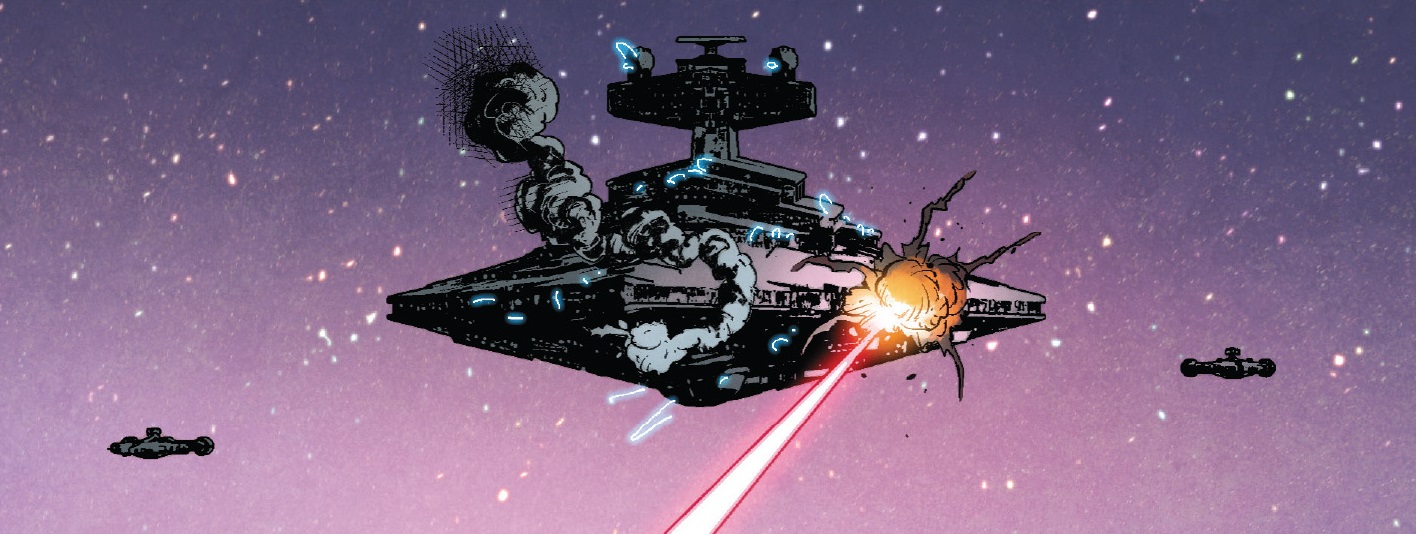
The Judicator was heavily damaged in the battle for Scrim Island.
Soon after, the shield again shifted, briefly exposing the eastern shore, but as the escort ships targeted the unprotected ion cannon, there was no attack from the insurgents, with the base's commander changing their tactics to open up the west ion cannon, unnoticed by the preoccupied Imperials. The Judicators escort ships were still firing at the protected eastern shoreline when their weapons were disabled by the west ion cannon. Then, with the Imperials no longer in a position to effectively attack, the Judicator again became the focus of the insurgents' turbolaser attacks, with the ion cannons keeping the escorts unable to assist it.
Once Thrawn left Batonn in pursuit of the fleeing insurgent craft, the Shyrack, acting on his earlier orders, moved into the battle and coordinated the One Oh Third's remaining functional craft, using their combined tractor beams to move the immobilized Judicator out of range of Scrim Island's weapons. The Star Destroyer then managed to regain power and move away from Batonn. Upon Thrawn's return to the planet, the One Oh Third Task Force had been reassembled.
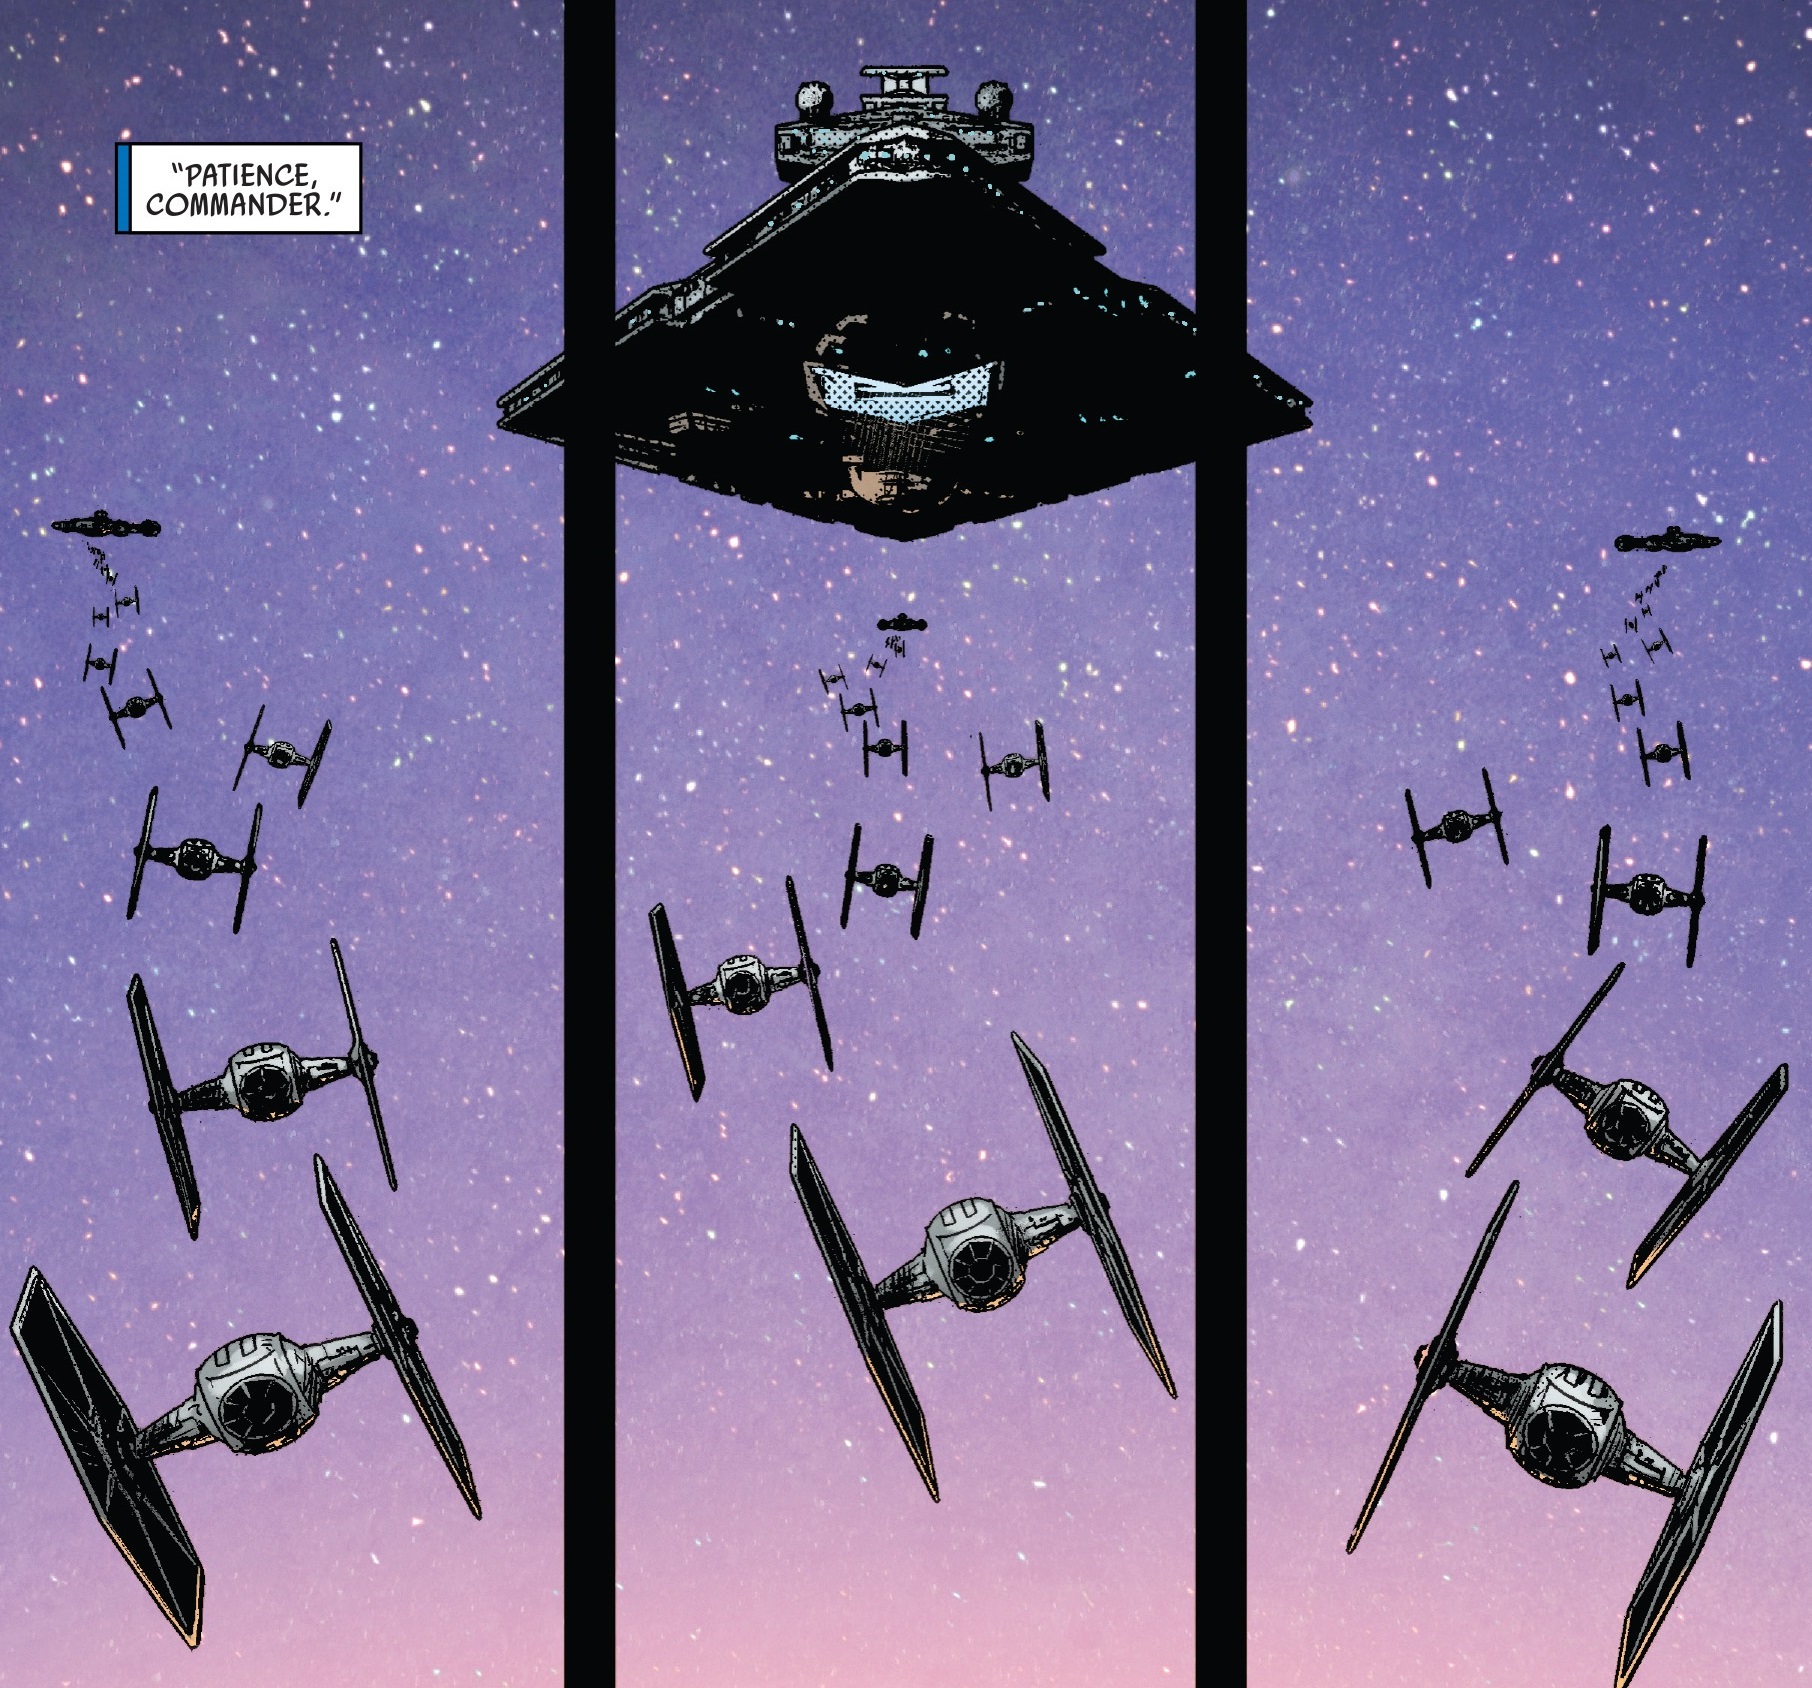
The One Oh Third's TIE fighters join the fight.
Later, in a hologram meeting between the various commanders active in the sector, Admiral Durril reported his failure—made worse by the successes of both the Ninety-Sixth and One Twenty-Fifth forces—to Fleet Admiral Donassius, although he was adamant that he could take the island with another attack in thirty hours. However, Donassius denied the request, instructing Durril to take his task force to the Marleyvane shipyards in five hours for repairs, while Thrawn would be responsible for a second attack.
Thrawn later successfully took Scrim Island and turned his Ninety-Sixth Task Force's attention to capturing the remainder of Batonn. In preparation for doing so, Thrawn borrowed the One Oh Third's TIE fighters and concealed three squadrons of them in repair barges attached to his light cruisers Flensor, Tumnor, and Shyrack, which had been damaged in the admiral's own assault on Skrim. The three ships were then positioned at the corners of an equilateral triangle around 100 kilometers per side, presenting them as vulnerable and far from the Chimaera, Thrawn's own Star Destroyer and the focus of any space combat.
Eventually, when the enemy did arrive with three attack squadrons consisting of thirty ships, they maneuvered around the light cruisers, believing them to be deterrents from them opening fire. Just as the enemy vessels were about to attack the Chimaera, Thrawn ordered the barges to detach, revealing the TIE fighters and allowing them to flank the insurgents, catching them off guard. They were then able to destroy the attacking enemy vessels with ease, with help from the Chimaeras turbolasers. After additional action on the ground, Batonn had been cleared of insurgents.
The One Oh Third Task Force was commanded by Admiral Durril, a long-serving naval officer who was very sure of himself, yet also hostile and xenophobic, even toward other officers. It was Admiral Thrawn's opinion that Durril valued speed over precision, which sometimes led to miscalculations. This theory was confirmed after the One Oh Third's failed attack on Scrim Island, where Durril failed to notice patterns in the enemy's attacks.
The One Oh Third Task Force first appeared in Timothy Zahn's 2017 novel, Thrawn, the first book in the Star Wars: Thrawn series. It was then first pictured in the fifth issue of the Marvel comic-book series Star Wars: Thrawn, an adaptation of the book written by Jody Houser, illustrated by Luke Ross, and released on June 13, 2018.
- Star Wars: Timelines